
Smart Media Upload Instructions
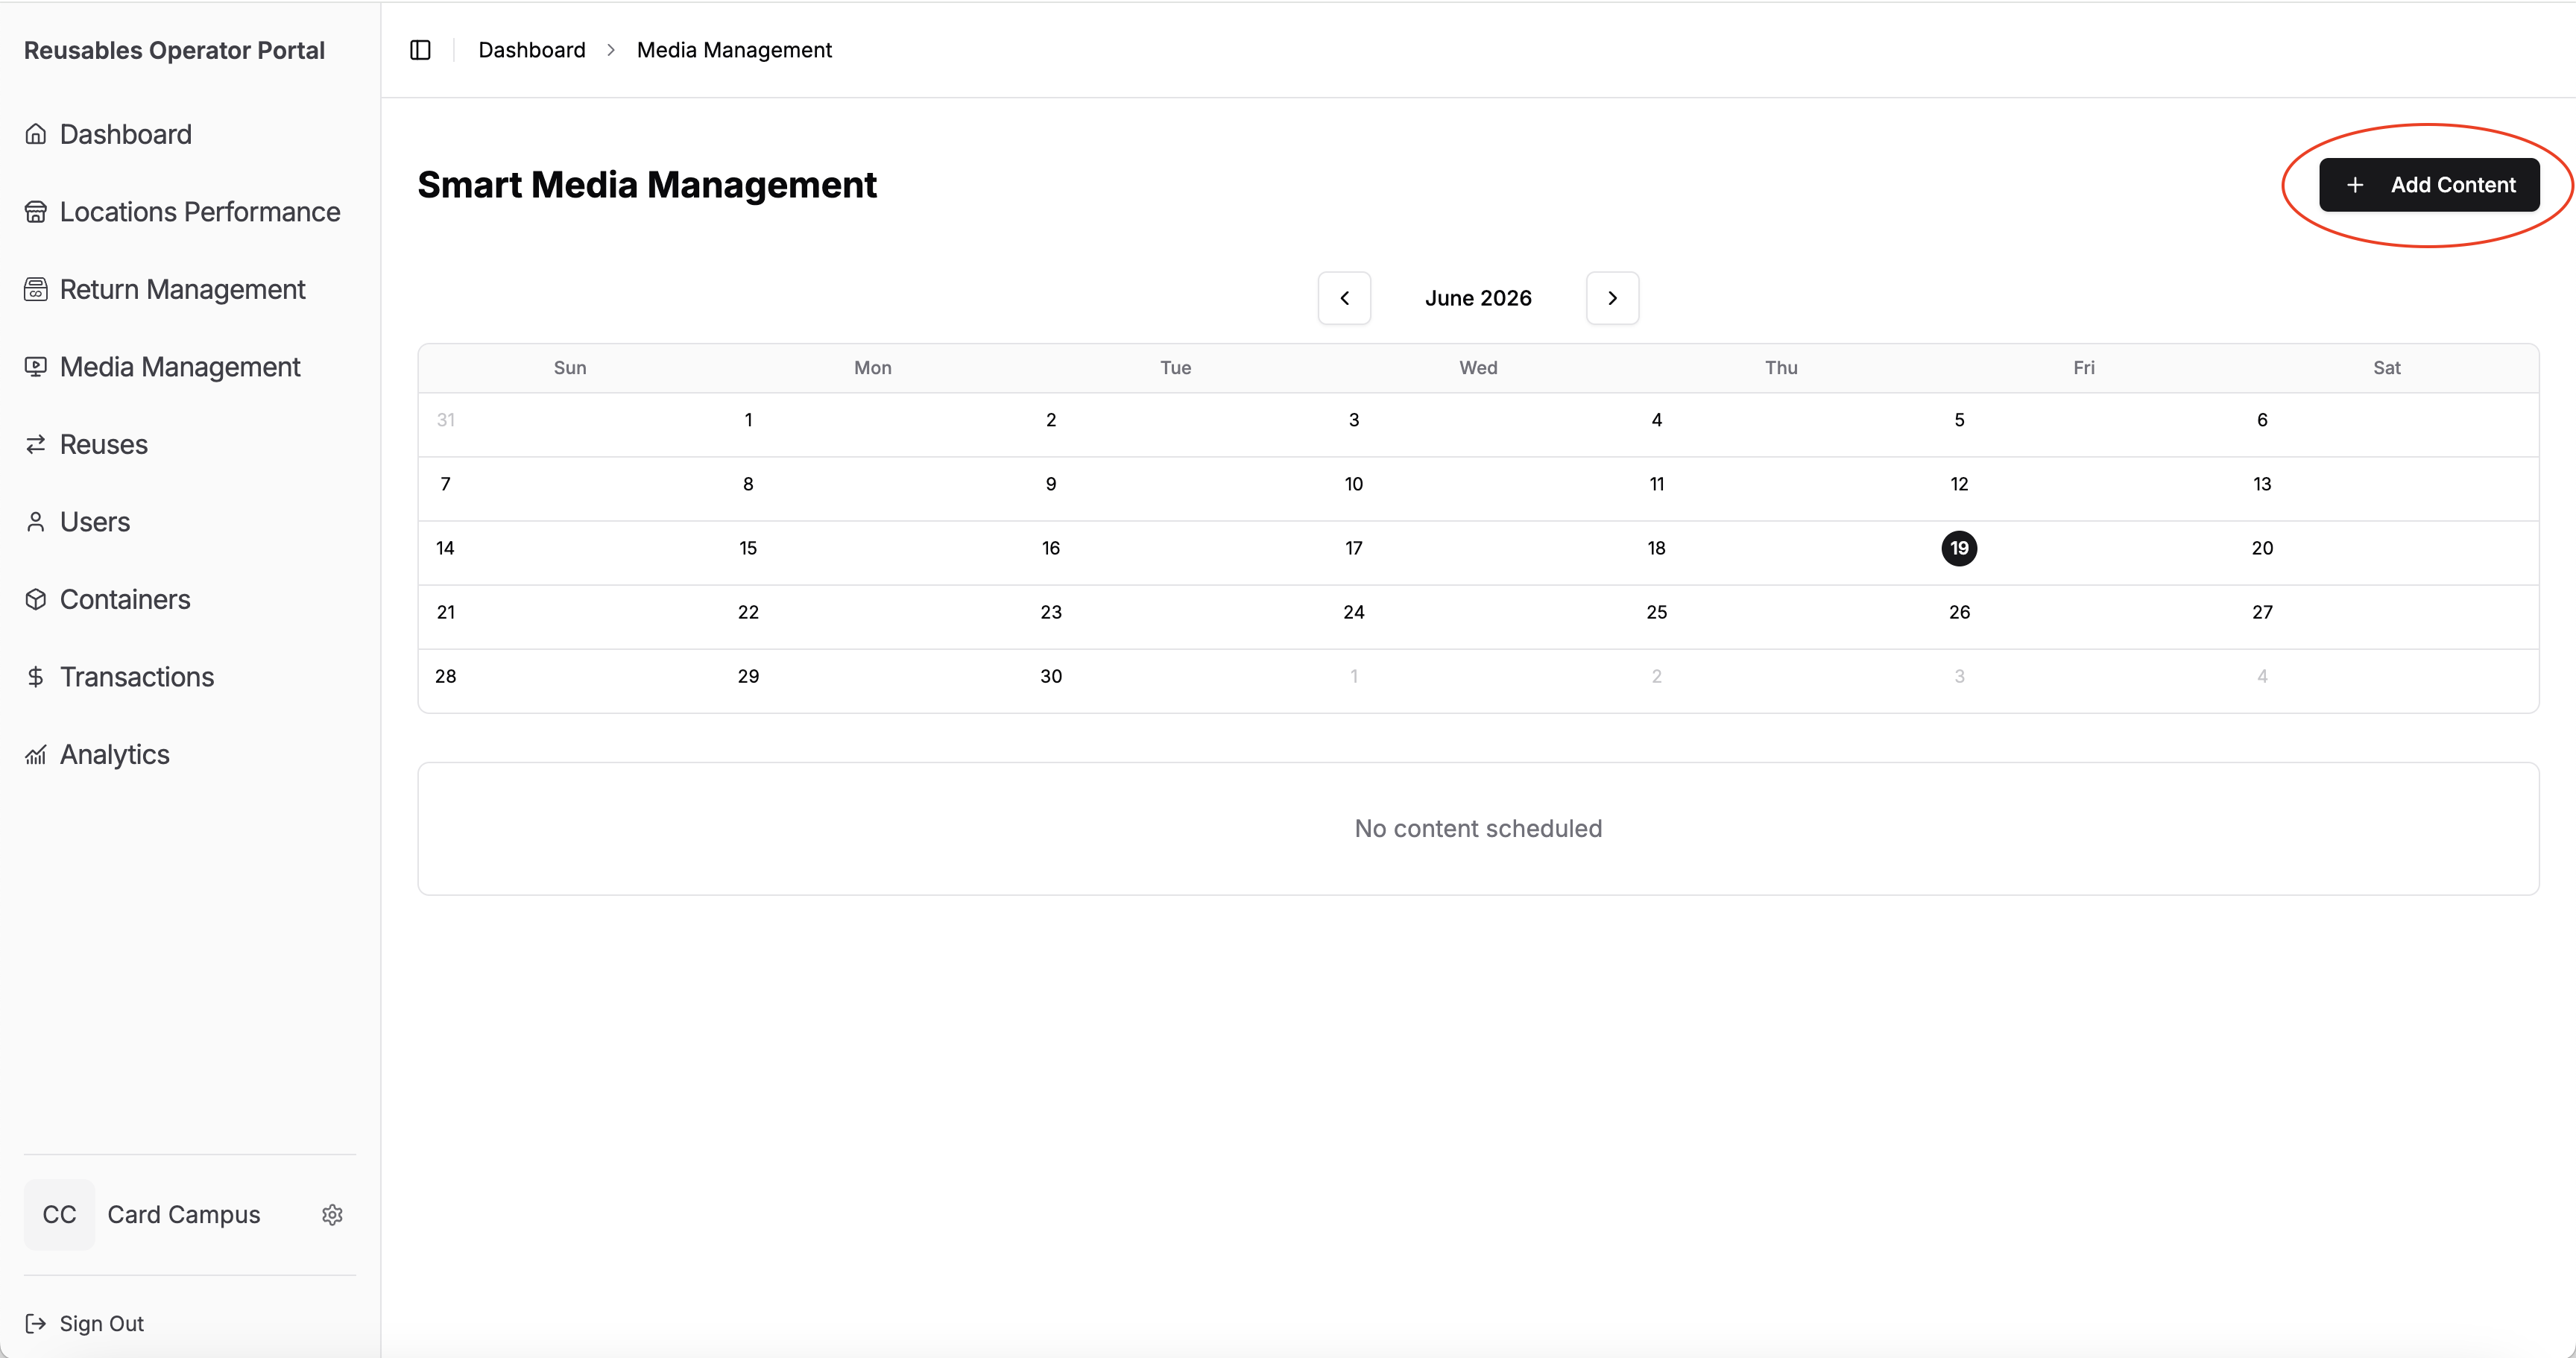
Step 1: Open the Content Uploader
Section titled “Step 1: Open the Content Uploader”Click Add Content button.
Step 2: Select Your Media File
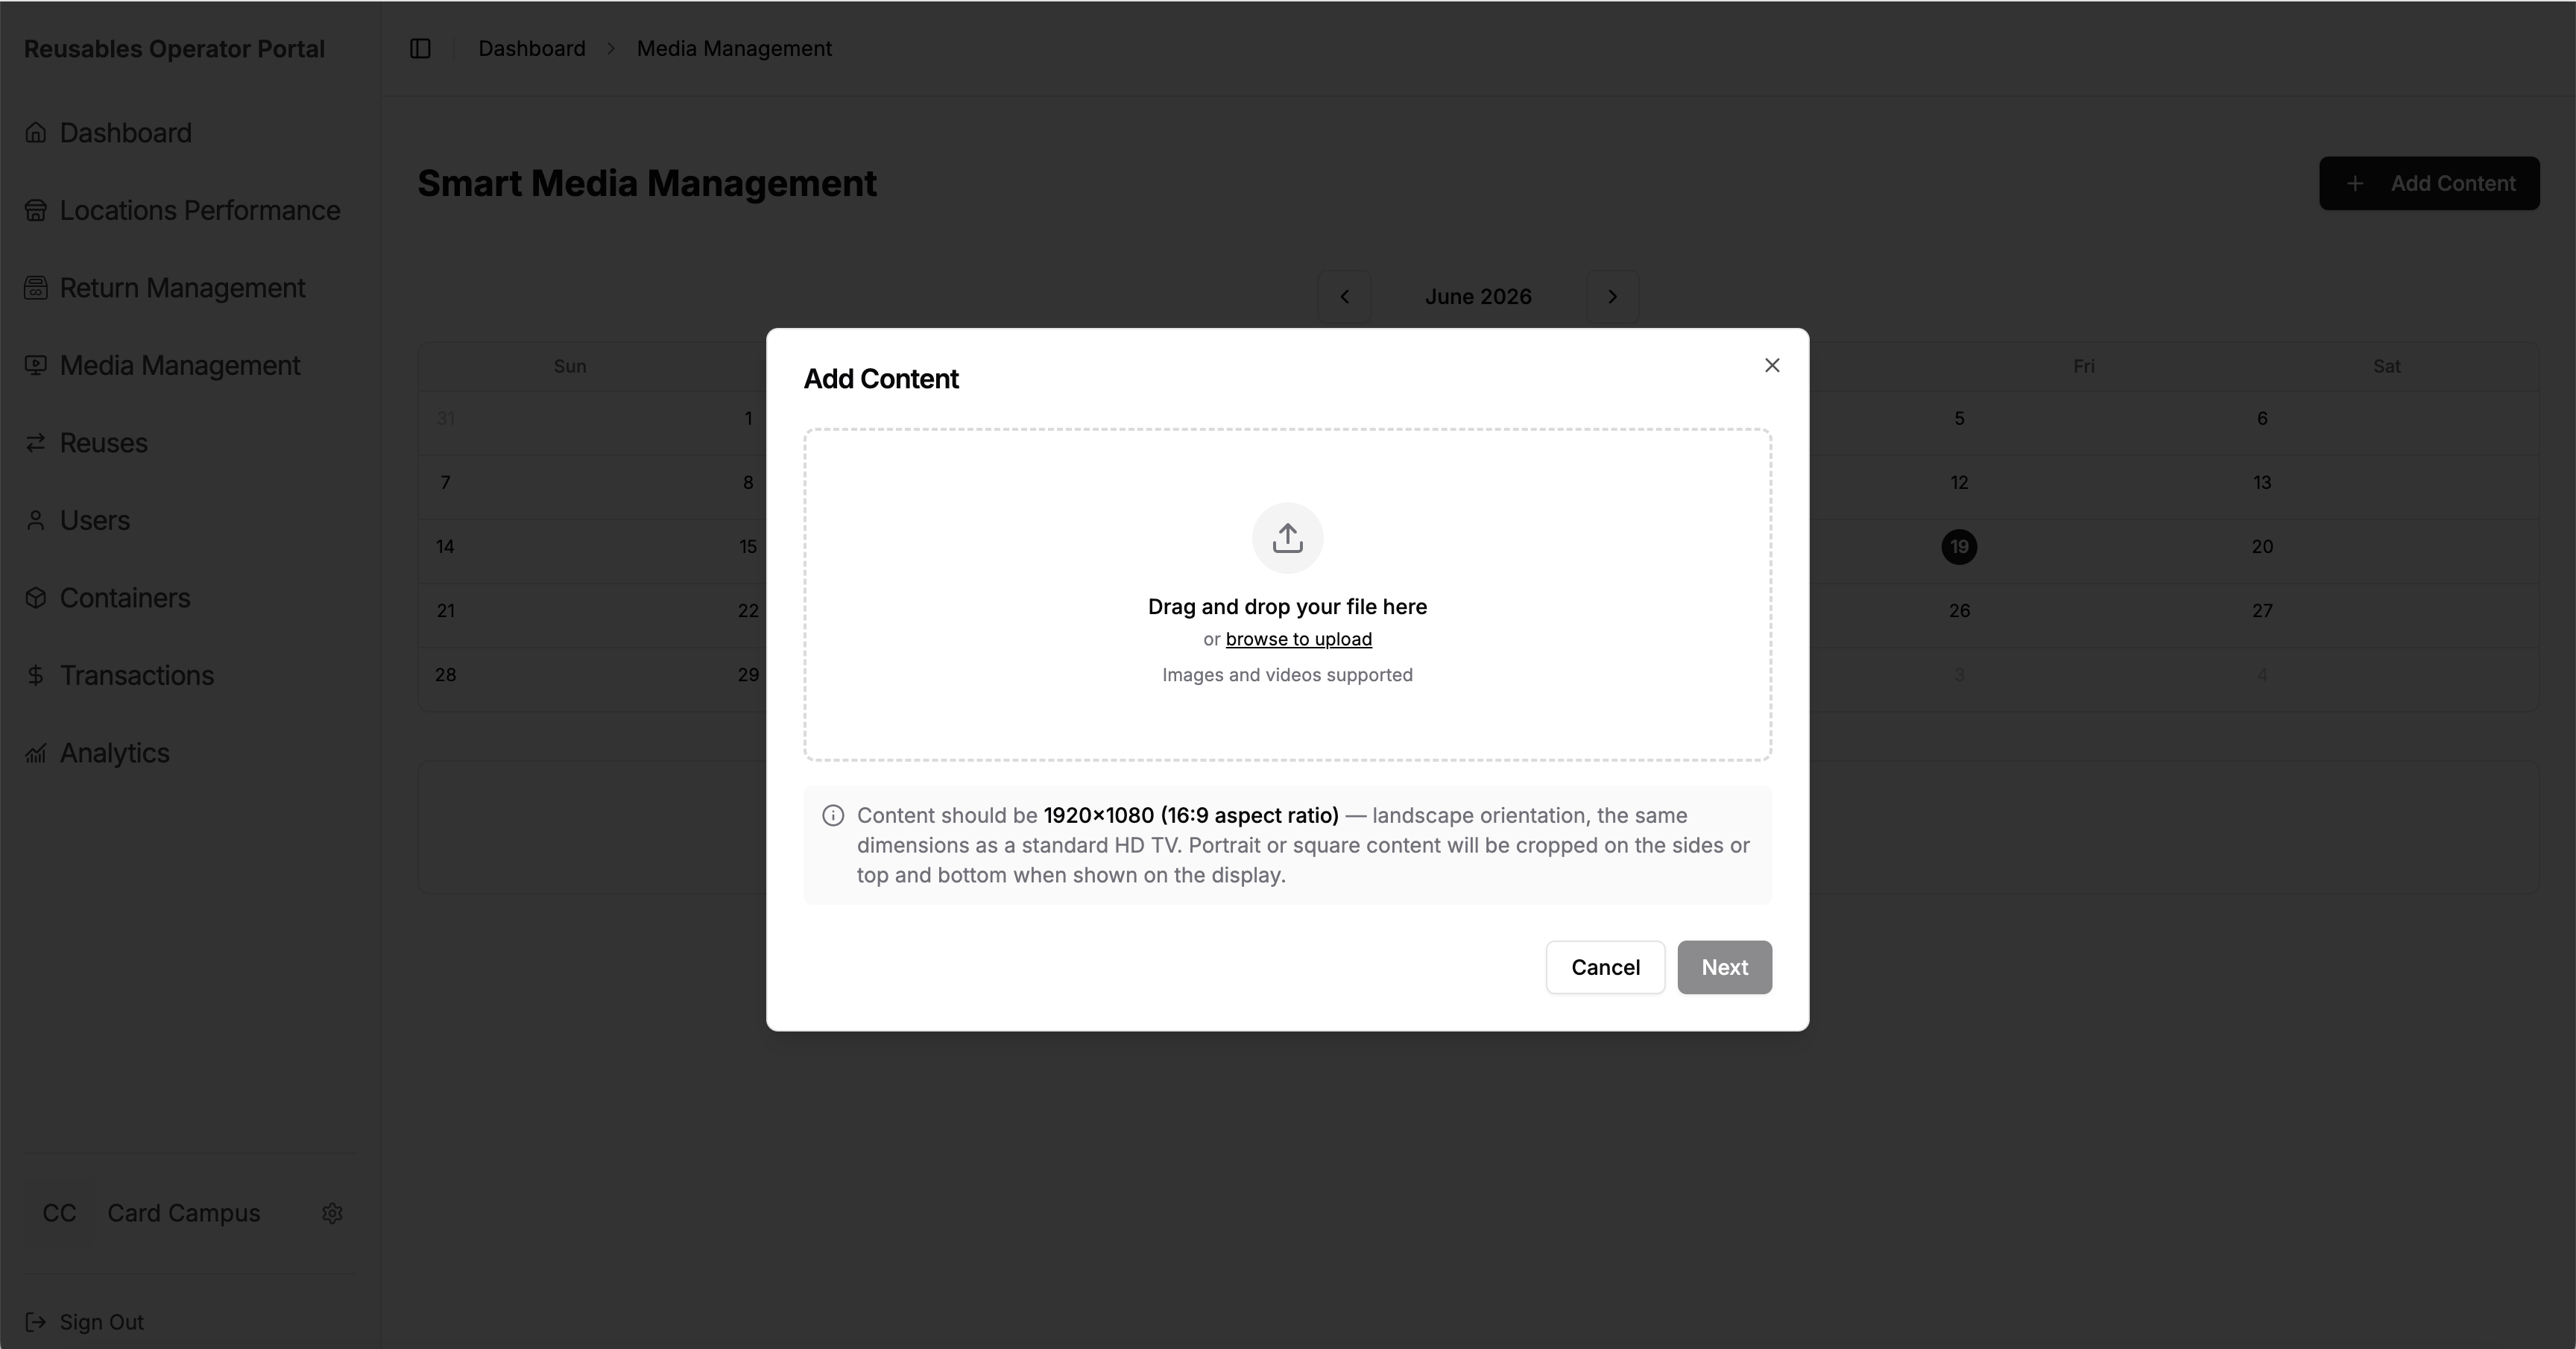
Section titled “Step 2: Select Your Media File”Select image or video file, then press the Next button
Note: Please select media with the following format:
Resolution: 1920 × 1080
Aspect Ratio: 16:9
Orientation: Landscape
Playback duration: All media is displayed for 15 seconds
Video file size: For best performance, videos should be 100 MB or less
Step 3: Name Your Content & Set a Date Range
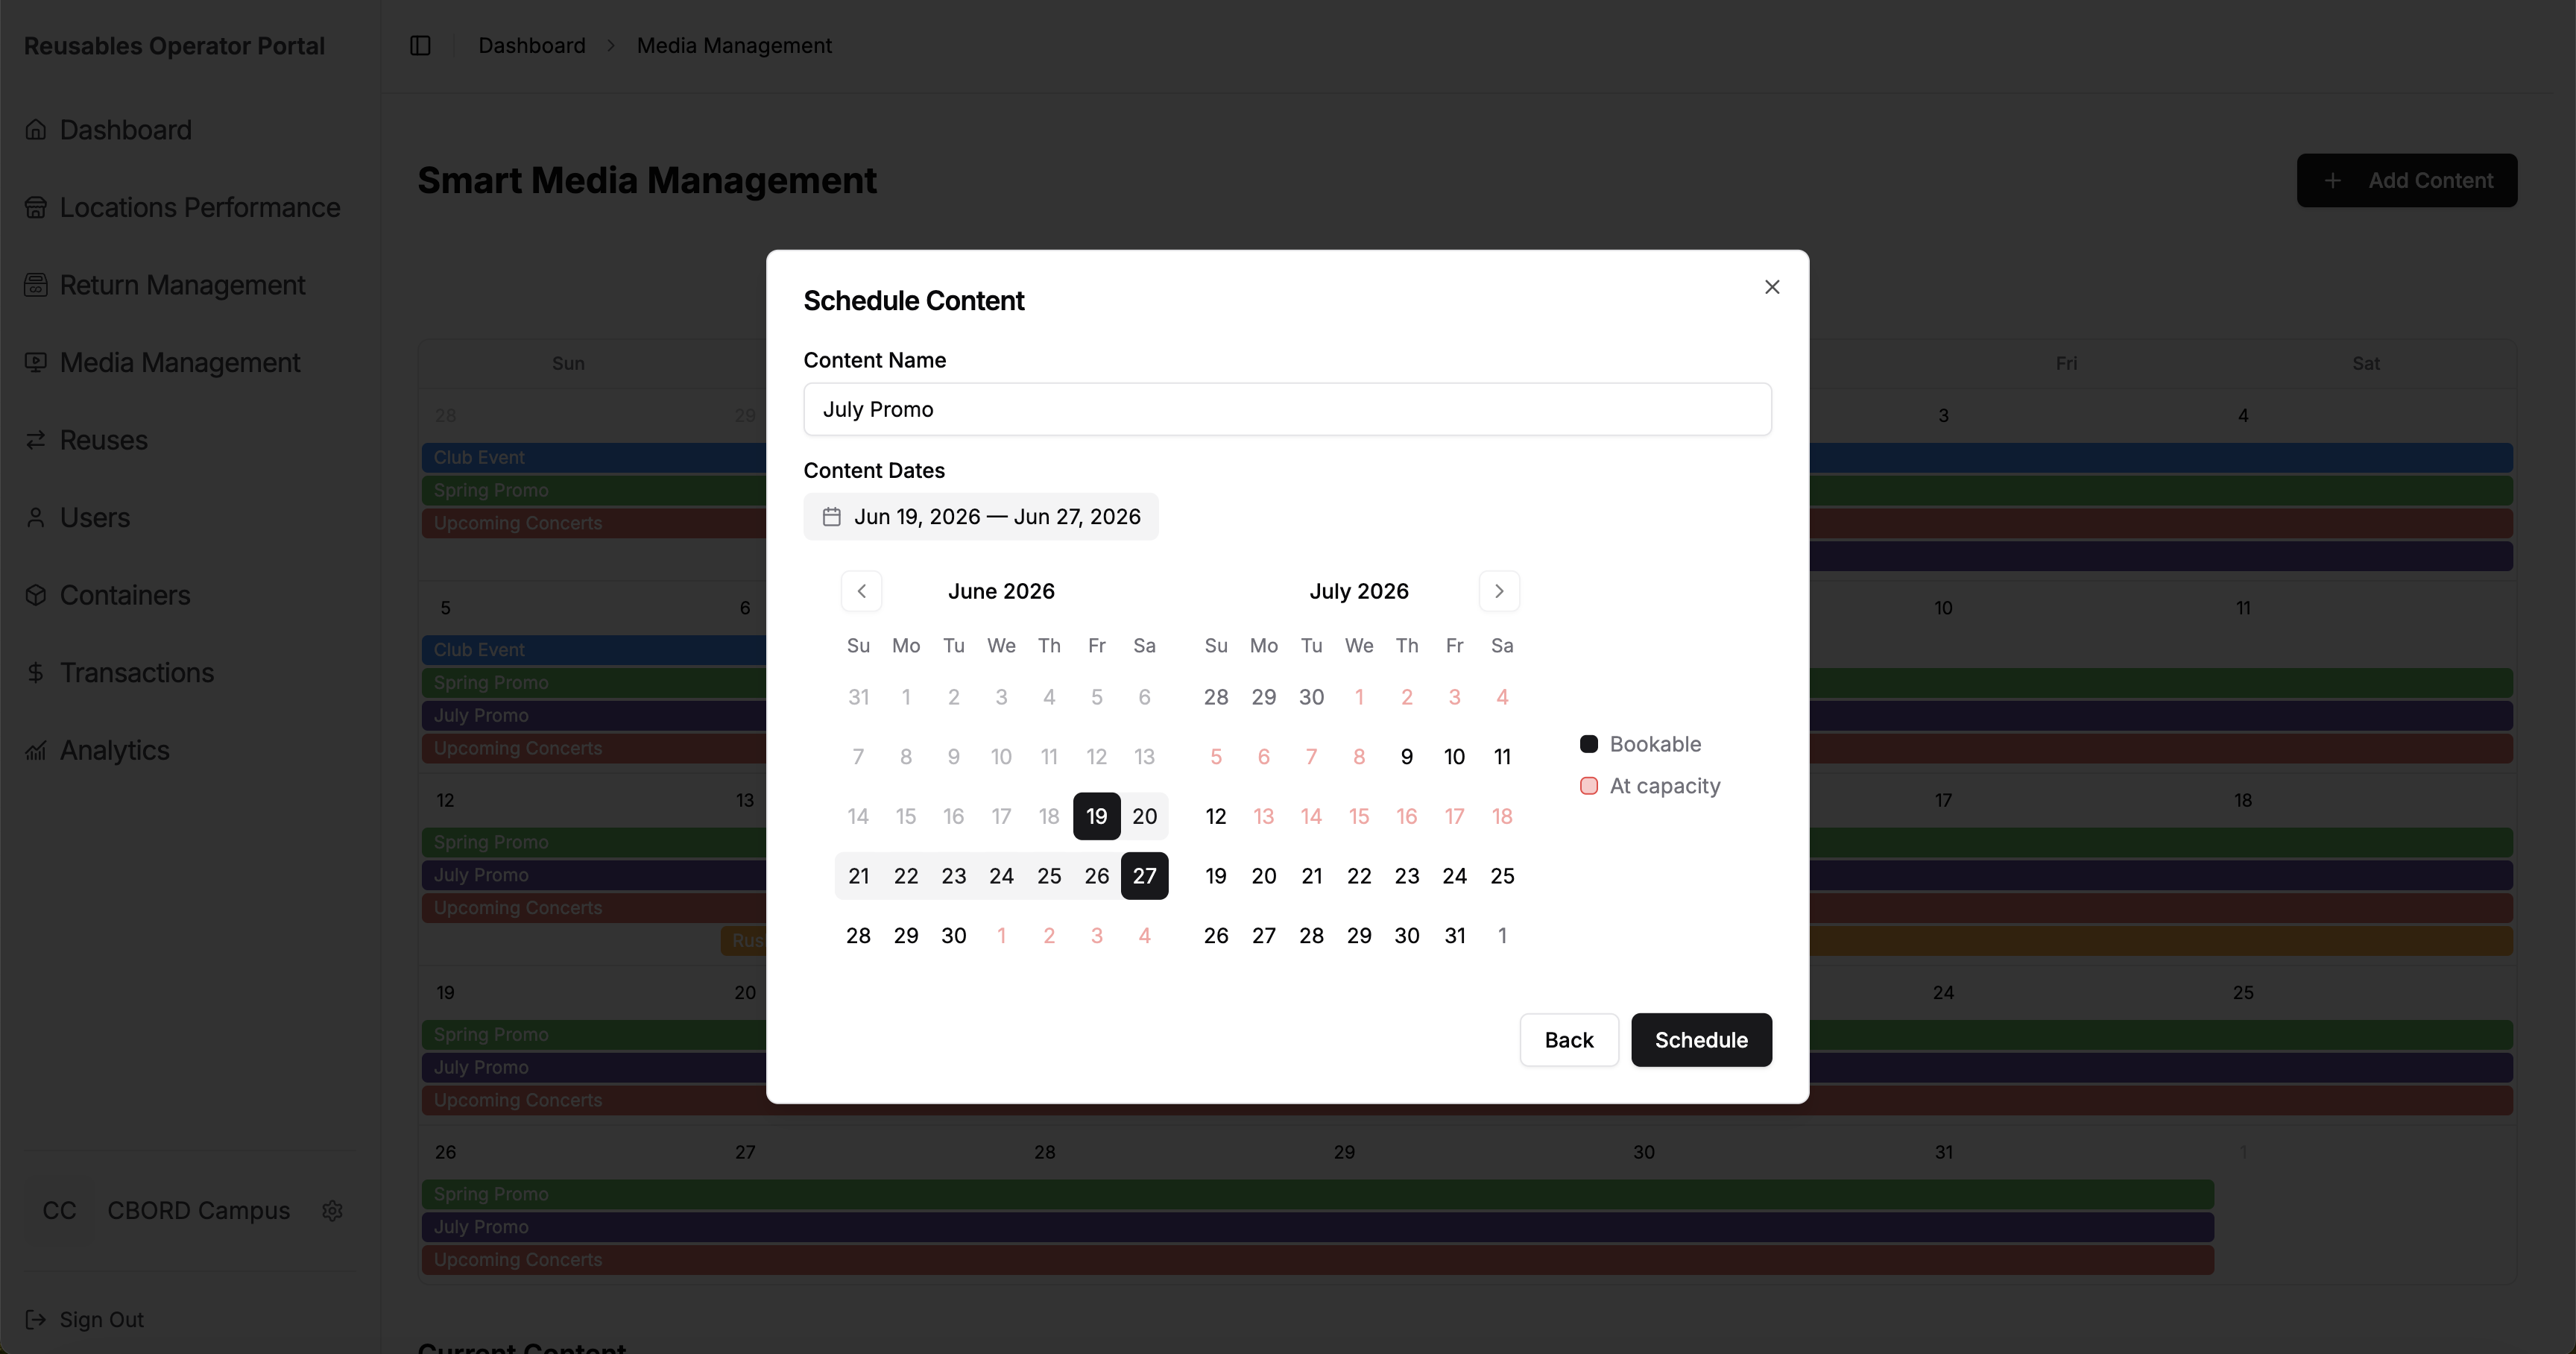
Section titled “Step 3: Name Your Content & Set a Date Range”Enter a Name for your content and select the Start and End Dates for when it should display.
Note: To schedule content for a single day, select the same date for both the start and end date.
Understanding Availability
Section titled “Understanding Availability”Smart Media screens reserve a portion of screen time for your content and a portion for advertising content. Because screen time is limited, there may be periods where all available capacity has already been booked. The scheduling calendar helps you identify when content can be added:
- Available dates can be selected and scheduled normally.
- At Capacity dates have no remaining screen time available.
If your selected date range includes dates that are already at capacity, the system will automatically adjust the selection and notify you:

Step 4: Schedule & Publish
Section titled “Step 4: Schedule & Publish”Click Schedule to publish the content. It will go live automatically on your chosen start date.
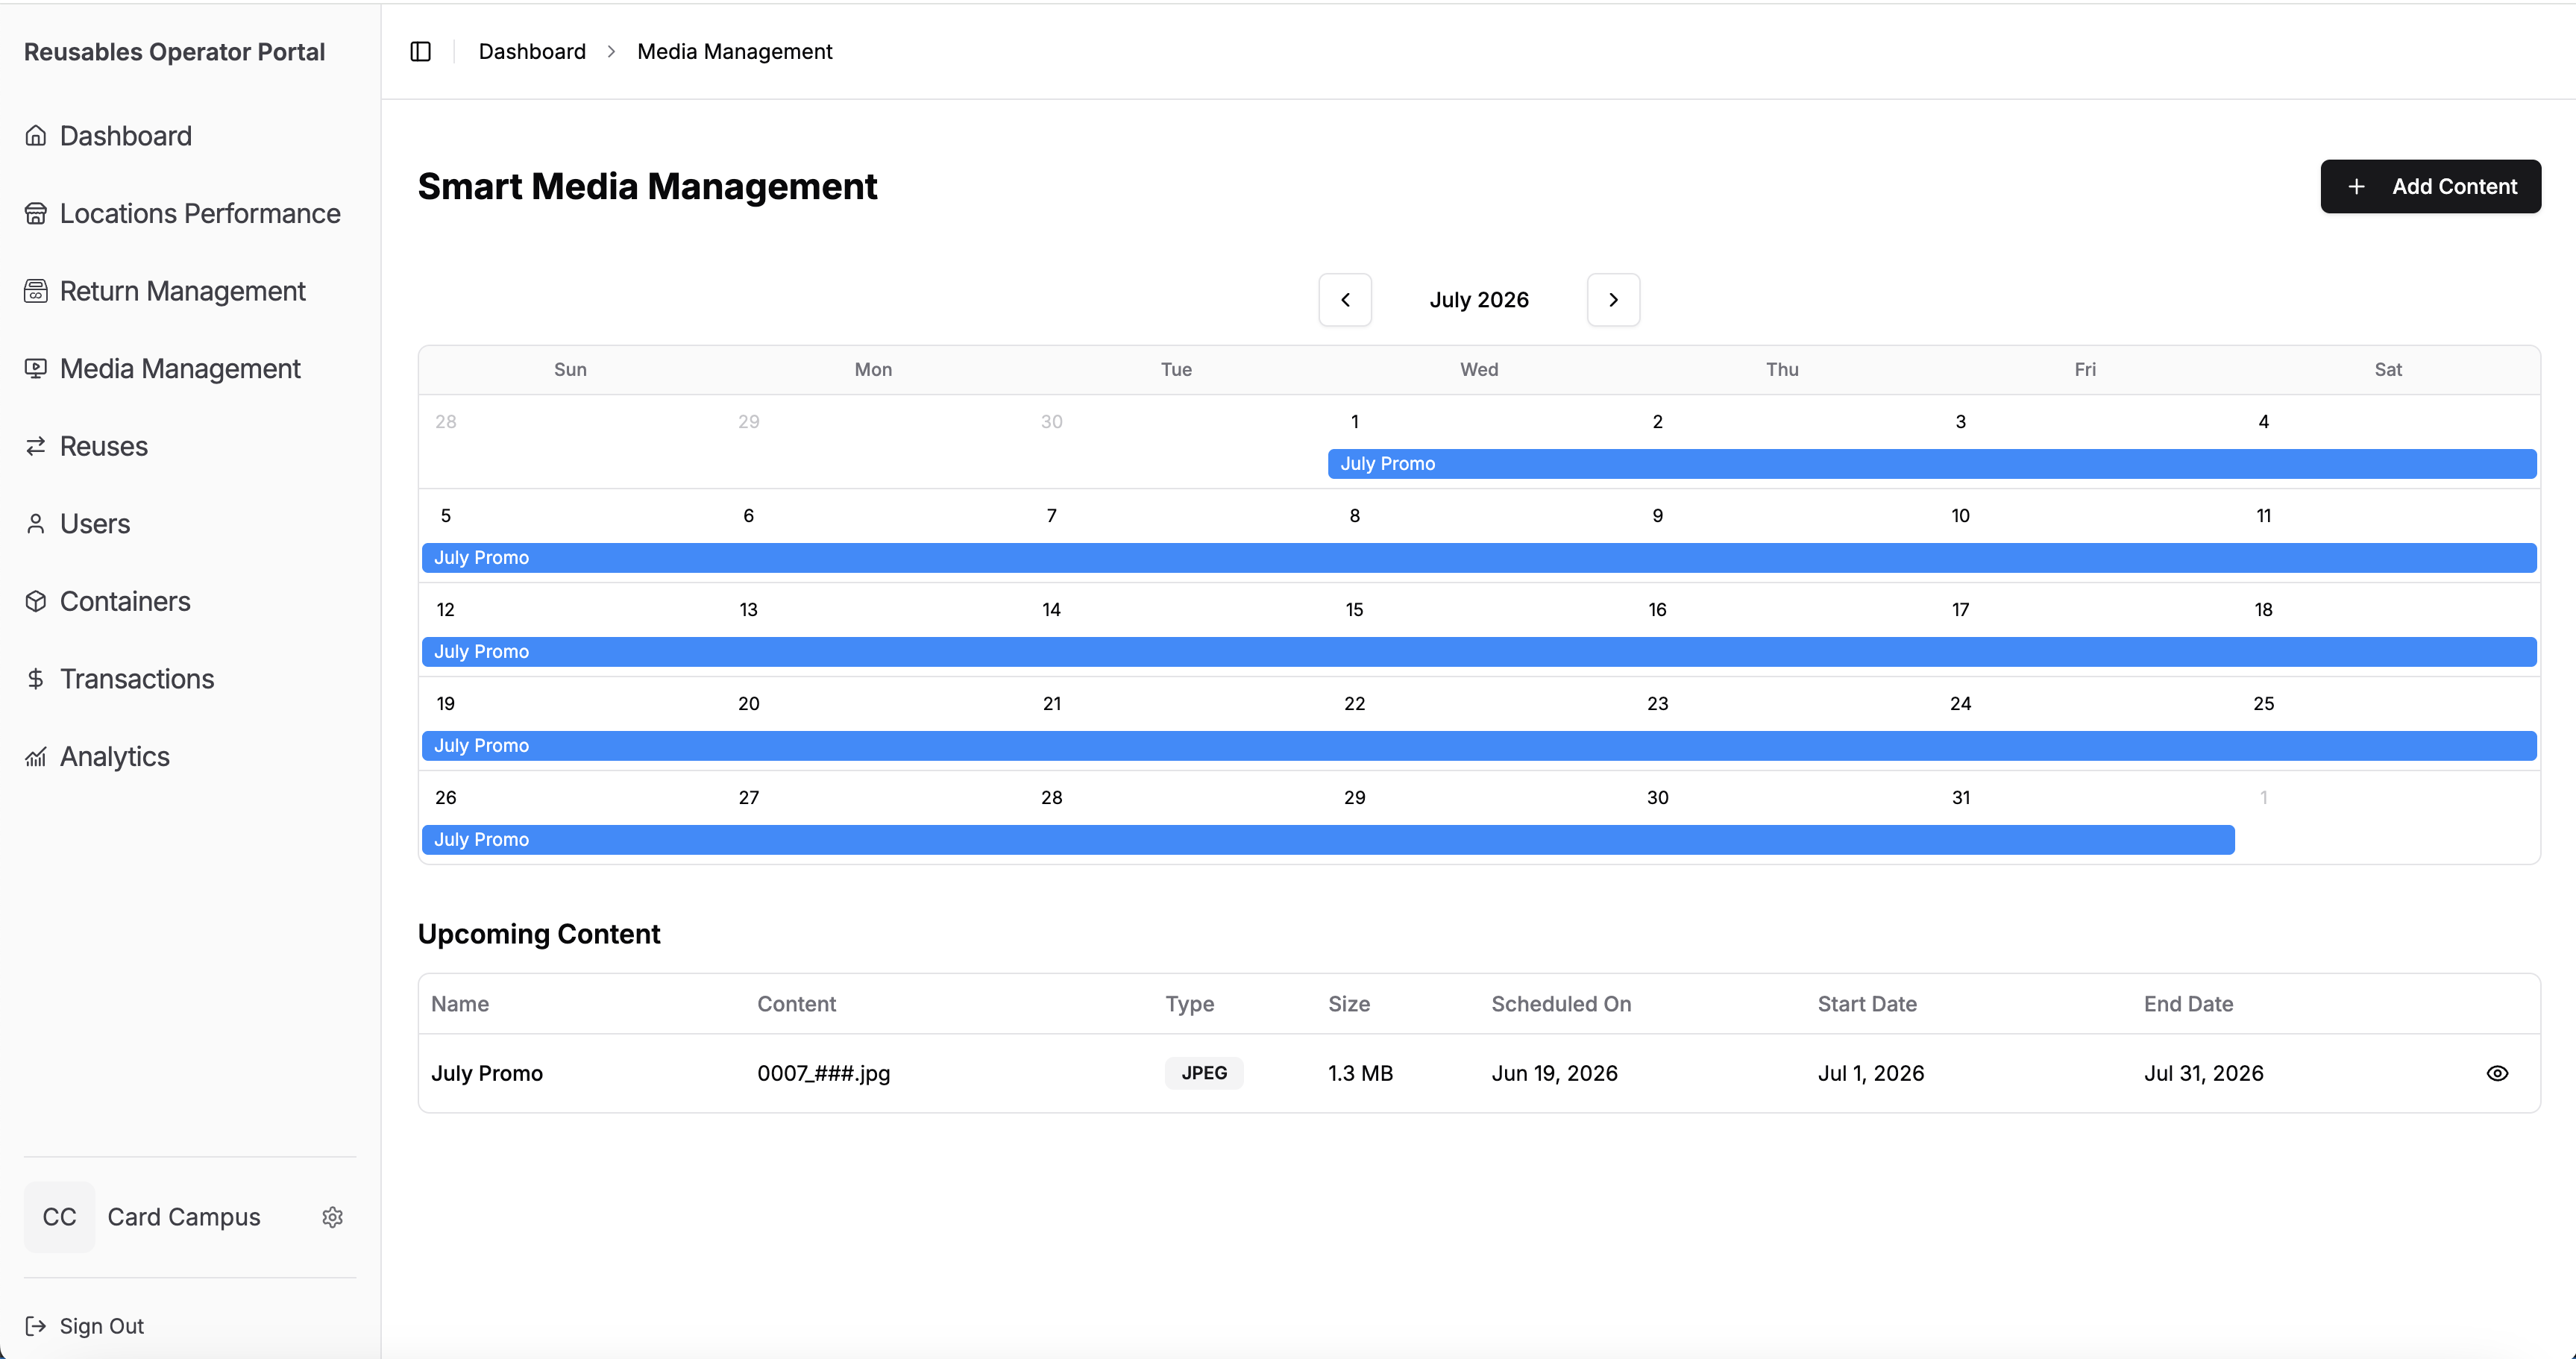
Managing Scheduled Content
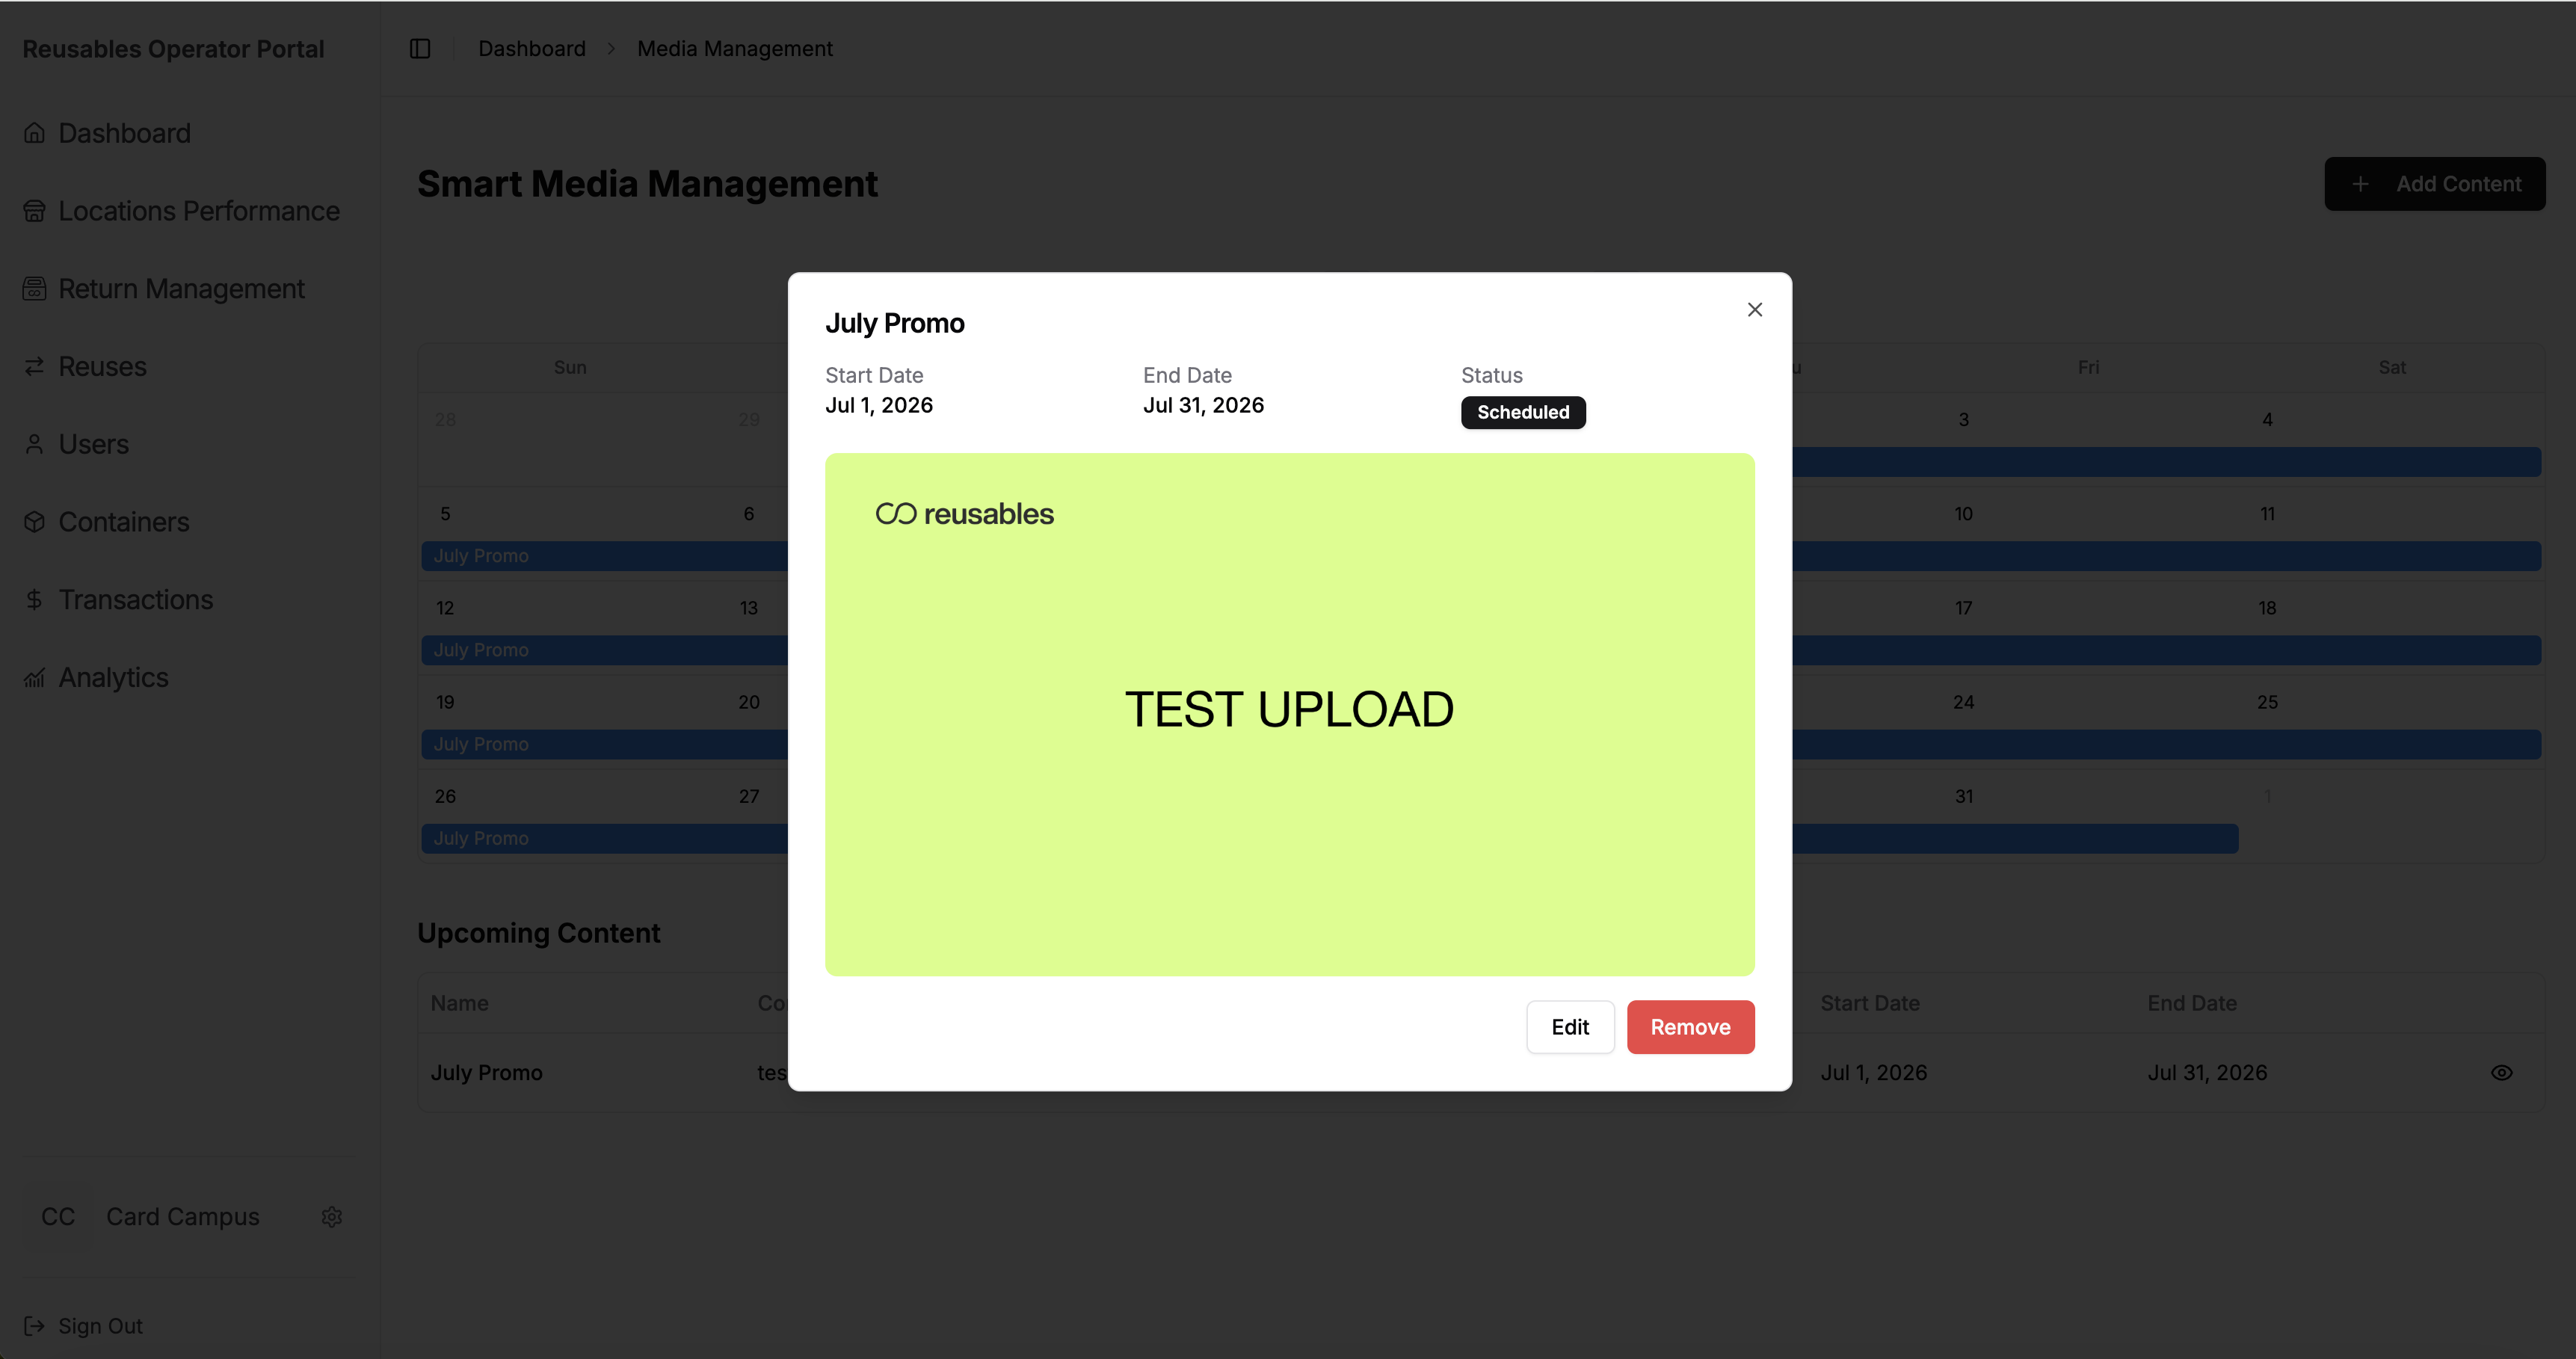
Section titled “Managing Scheduled Content”After content is scheduled, click the calendar bar or the Preview icon in the content table to see how your content will look on screen. From the preview modal, you can:
- Update the content name or adjust the date range.
- Remove/Cancel the scheduled content.