

V3 - Operator & Staff Usage Guide
Checkout & Return App V3 — Quick Reference for Staff
Section titled “Checkout & Return App V3 — Quick Reference for Staff”Effective August 3, 2026 · A print-ready PDF with all screenshots embedded is attached to the rollout task — print it and keep it at the station.
Printable version
Section titled “Printable version”Checking out a Reusables container is a simple two step process:
- Scan the container
- Identify the Reuser Scanning a container will immediately prompt the second step, so manipulating the app is not required at any time.
Step 1 — Scan the container
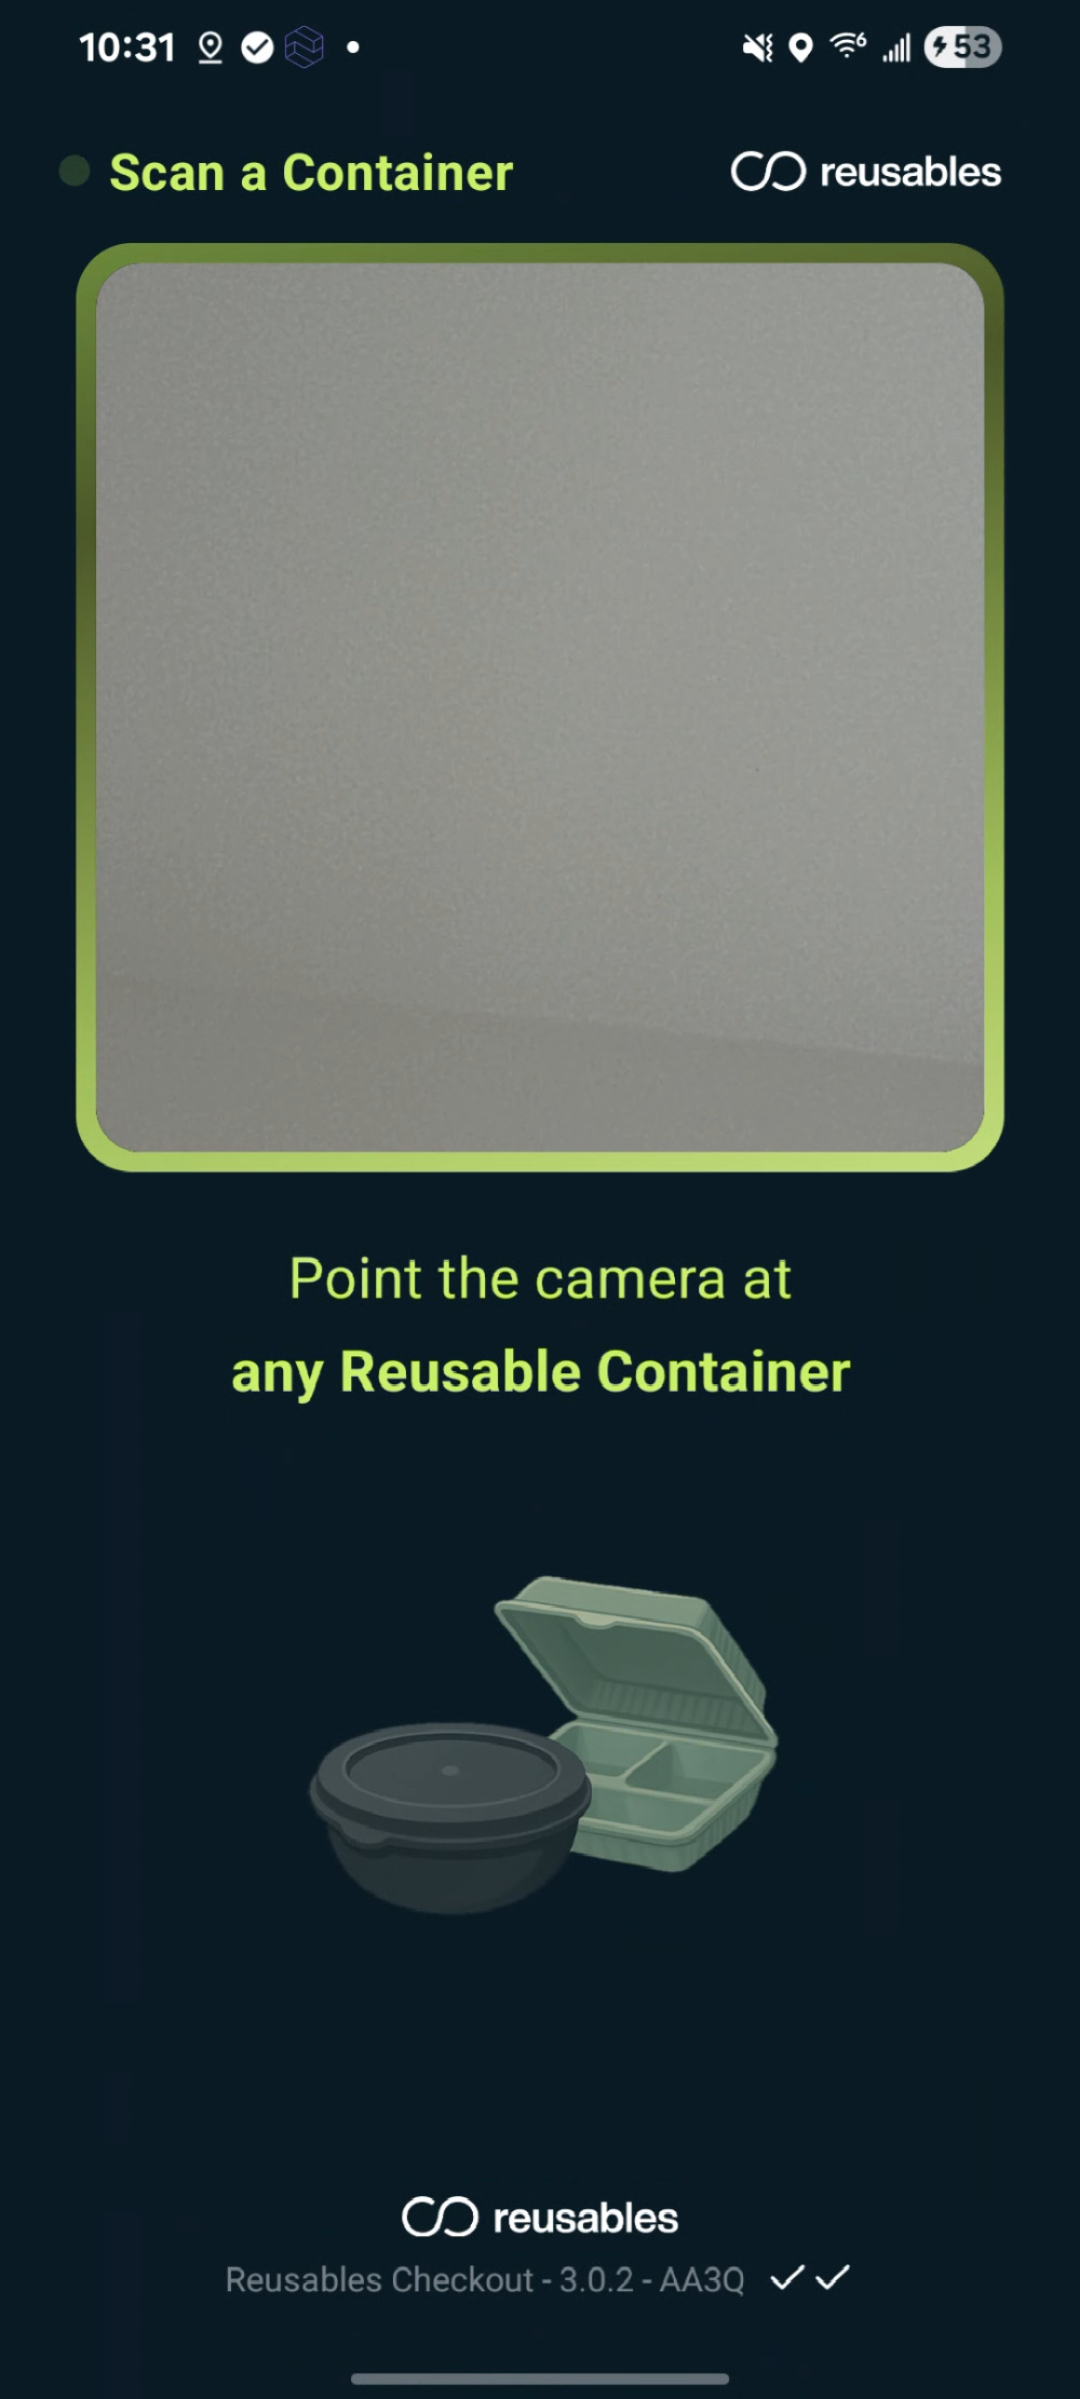
Section titled “Step 1 — Scan the container”On the idle screen, align the camera with any Reusables container’s QR code. Once it’s scanned, the identify Reuser dialog appears
Optional — check out more than one container
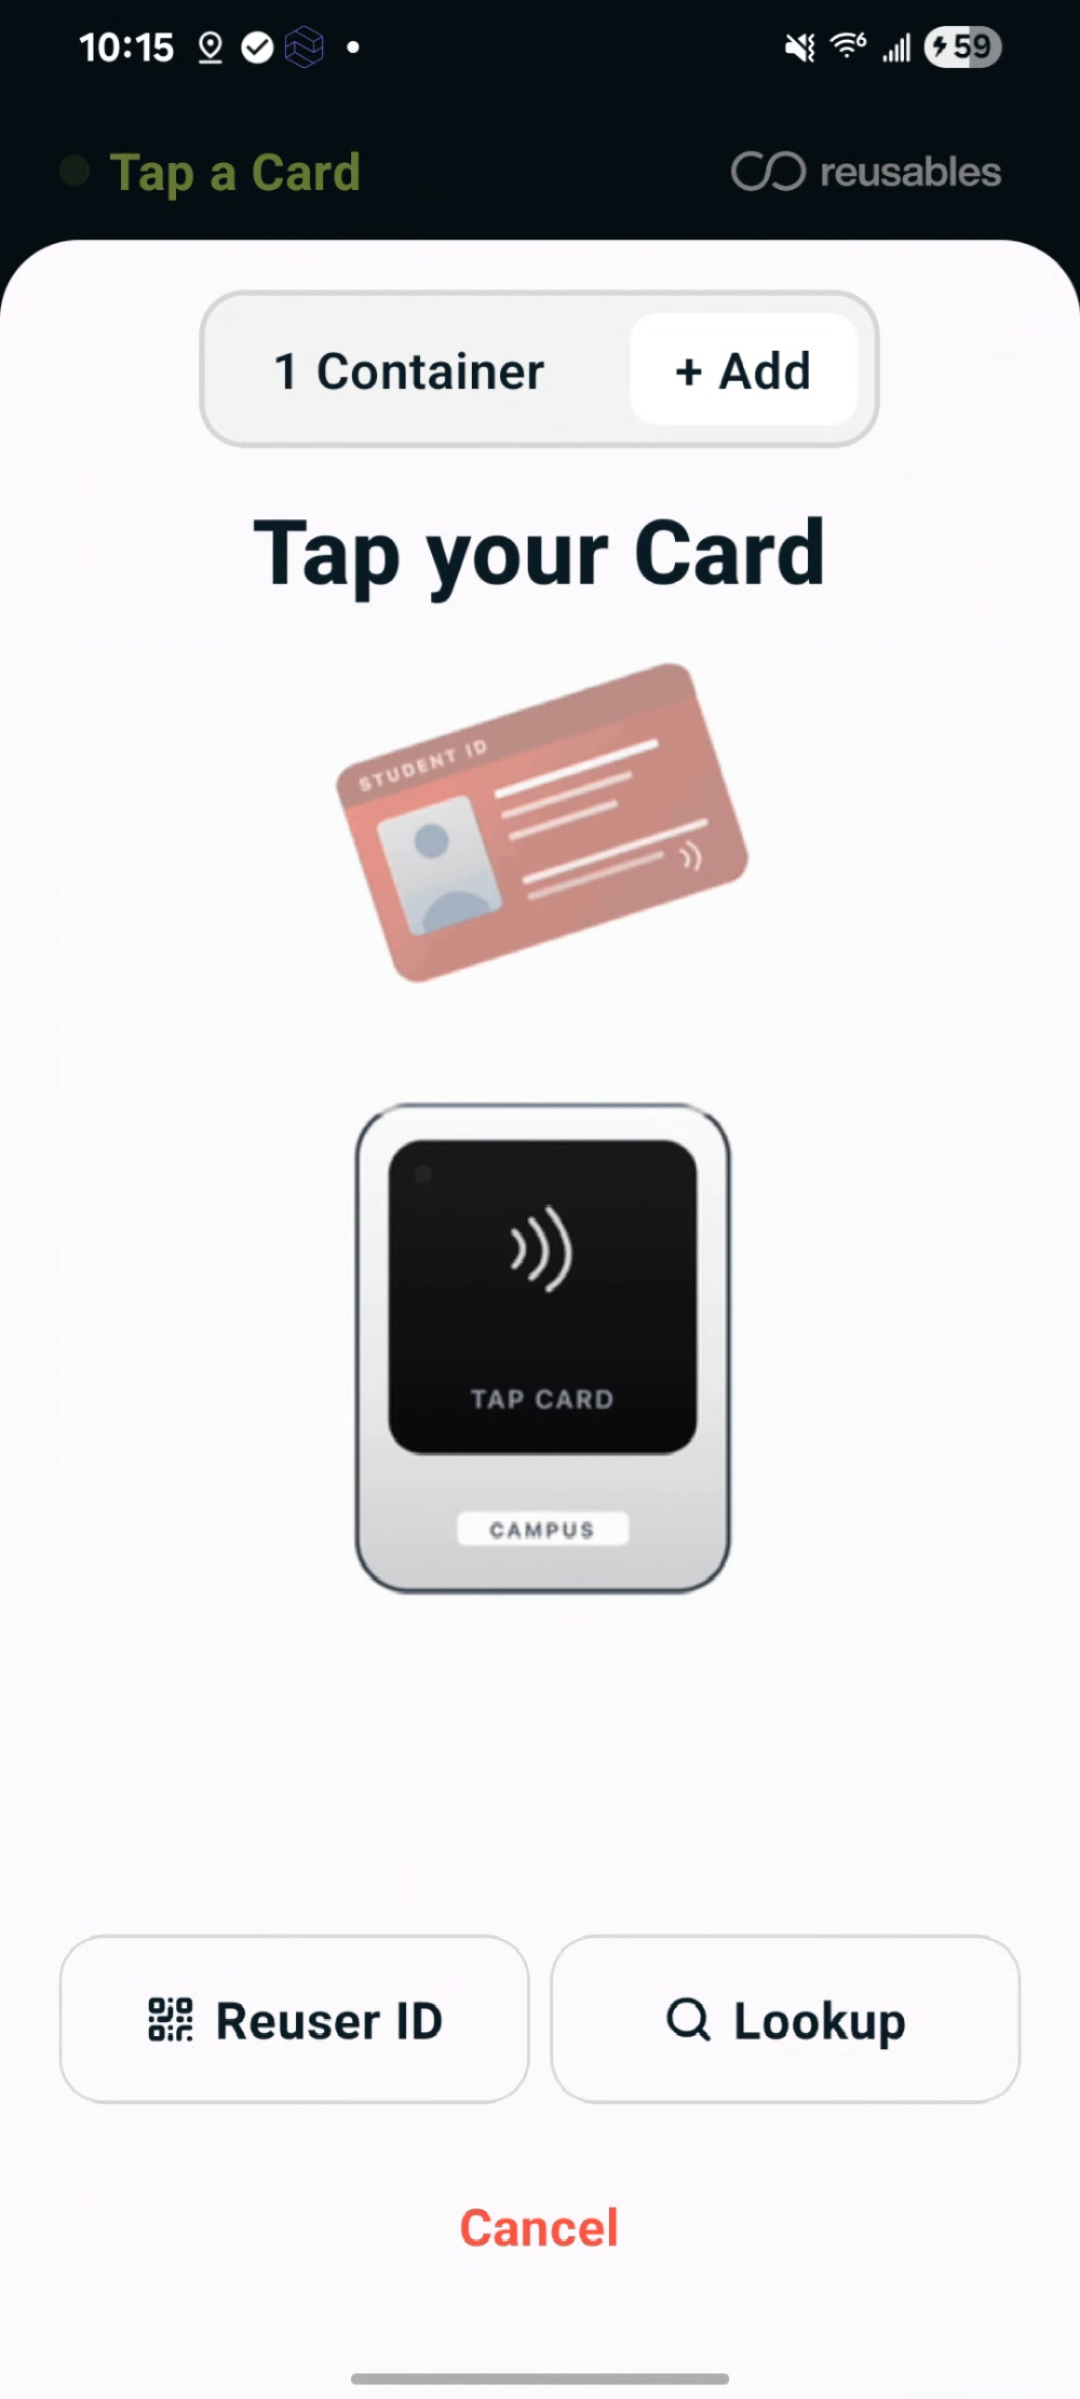
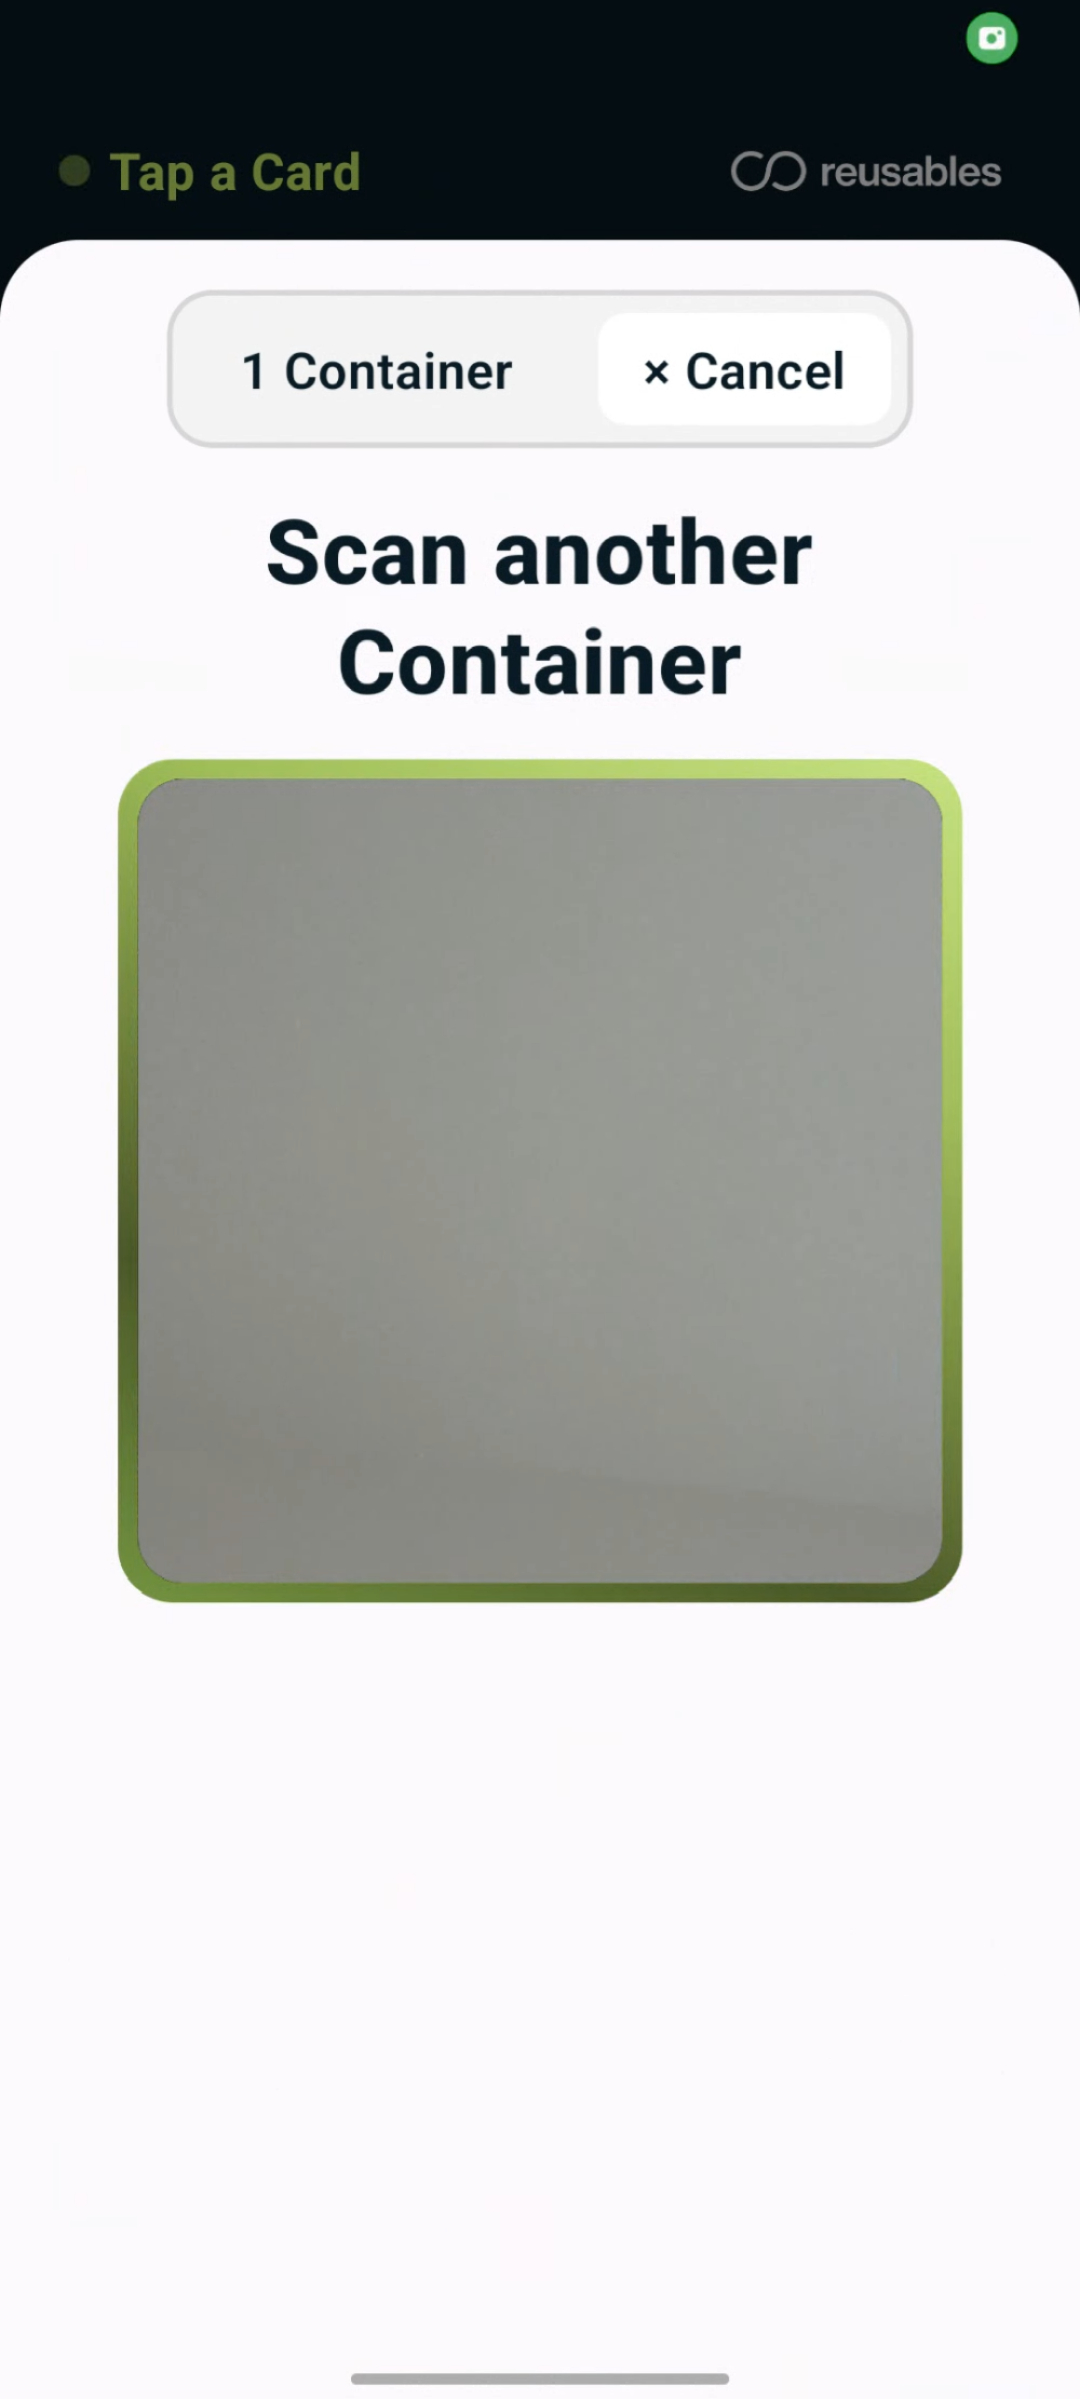
Section titled “Optional — check out more than one container”The window shows a container counter at the top (e.g. “1 Container”). To add another before identifying the user, tap + Add and scan the next container — repeat for as many as you like. They all get checked out to the same user. Tap × Cancel to start over.
Step 2 — Identify the Reuser
Section titled “Step 2 — Identify the Reuser”The window gives the user a few ways to identify themselves. Which options appear depends on the site and the phone’s hardware, but they work like this:
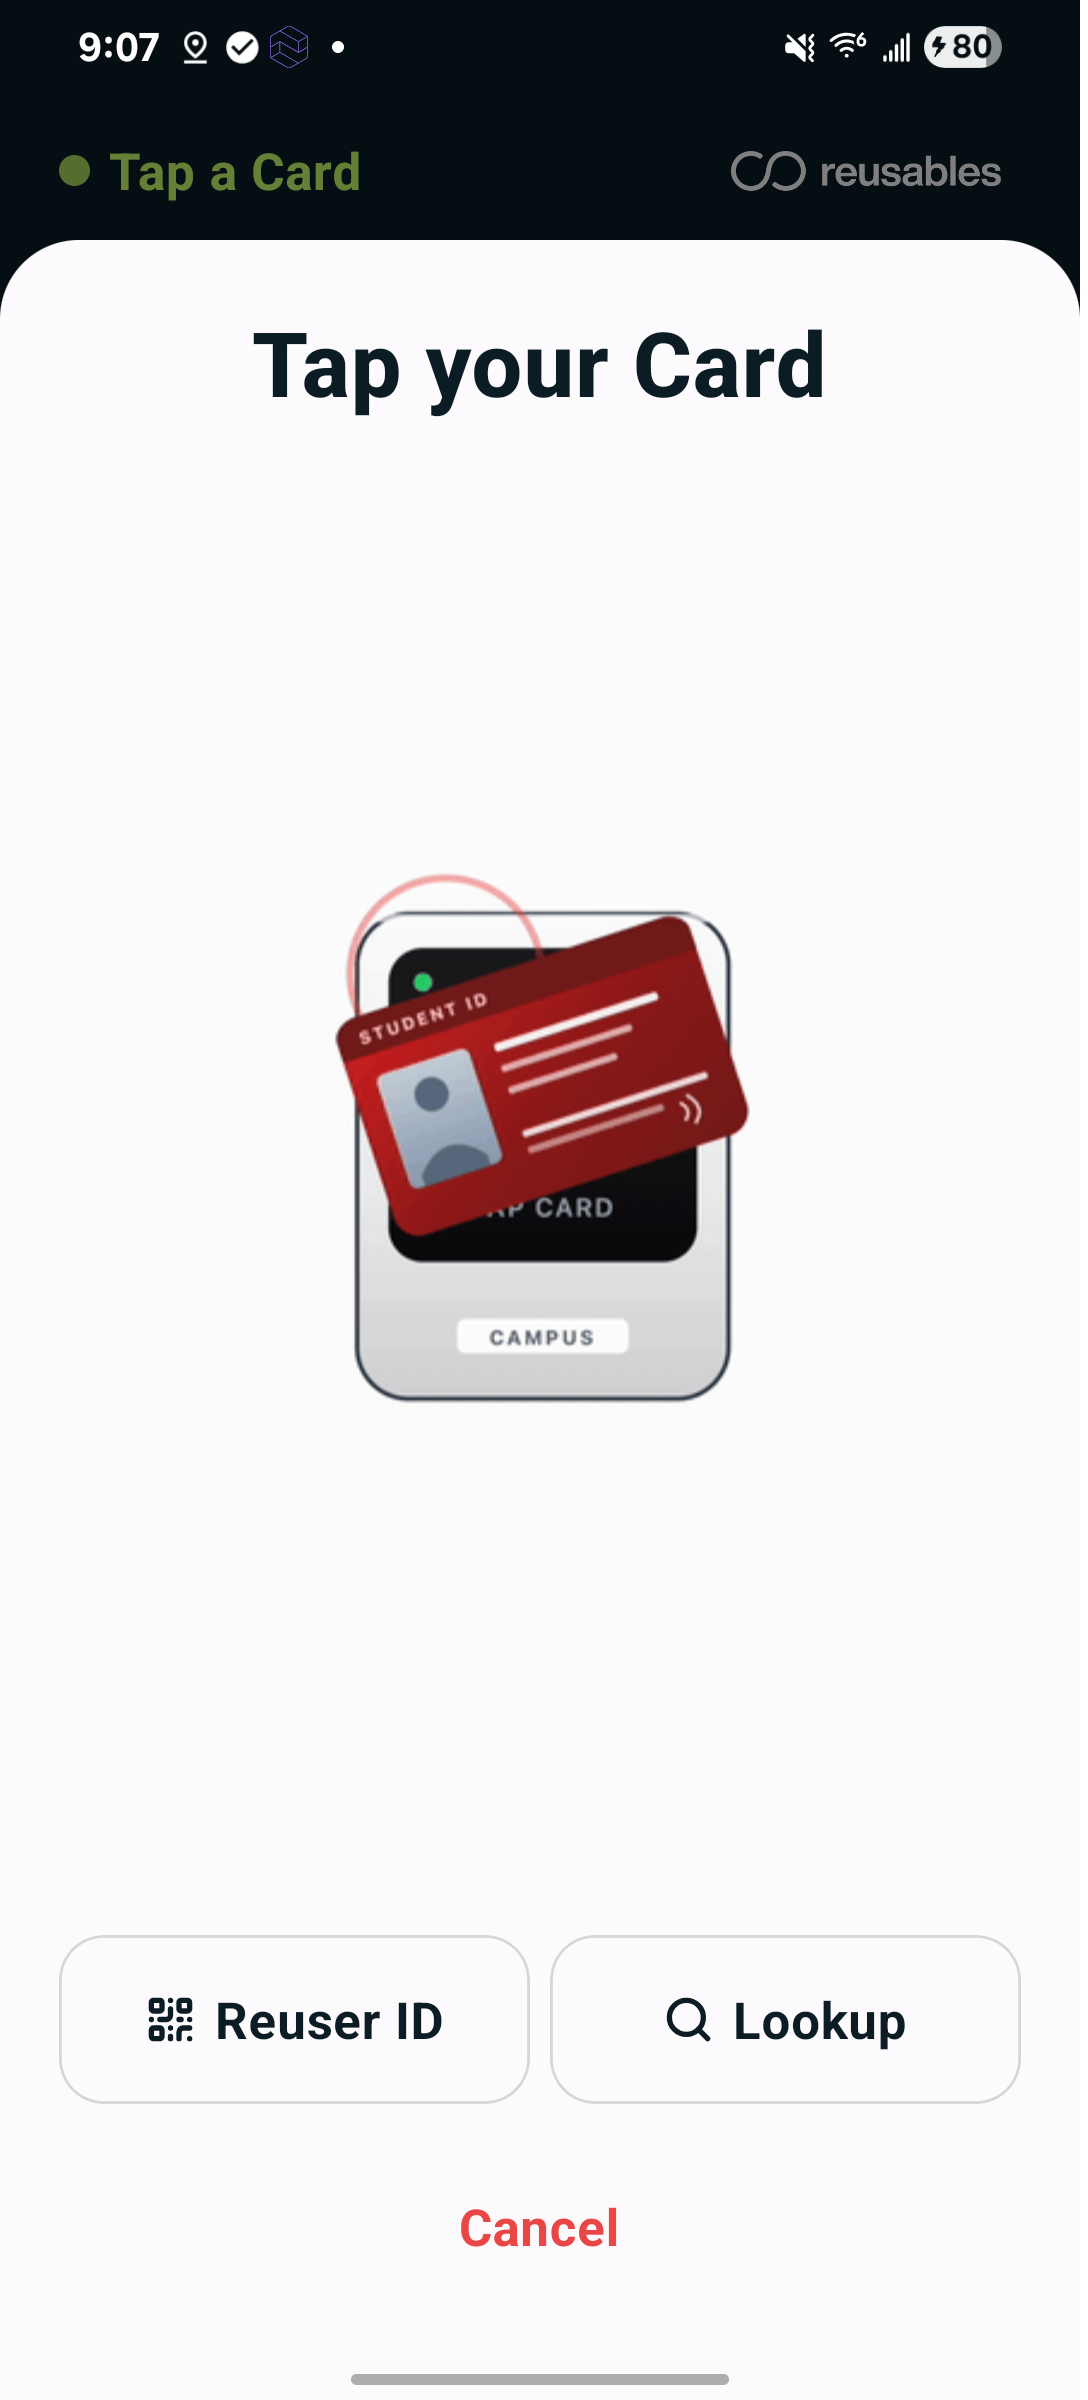
Tap (card reader) — the main option
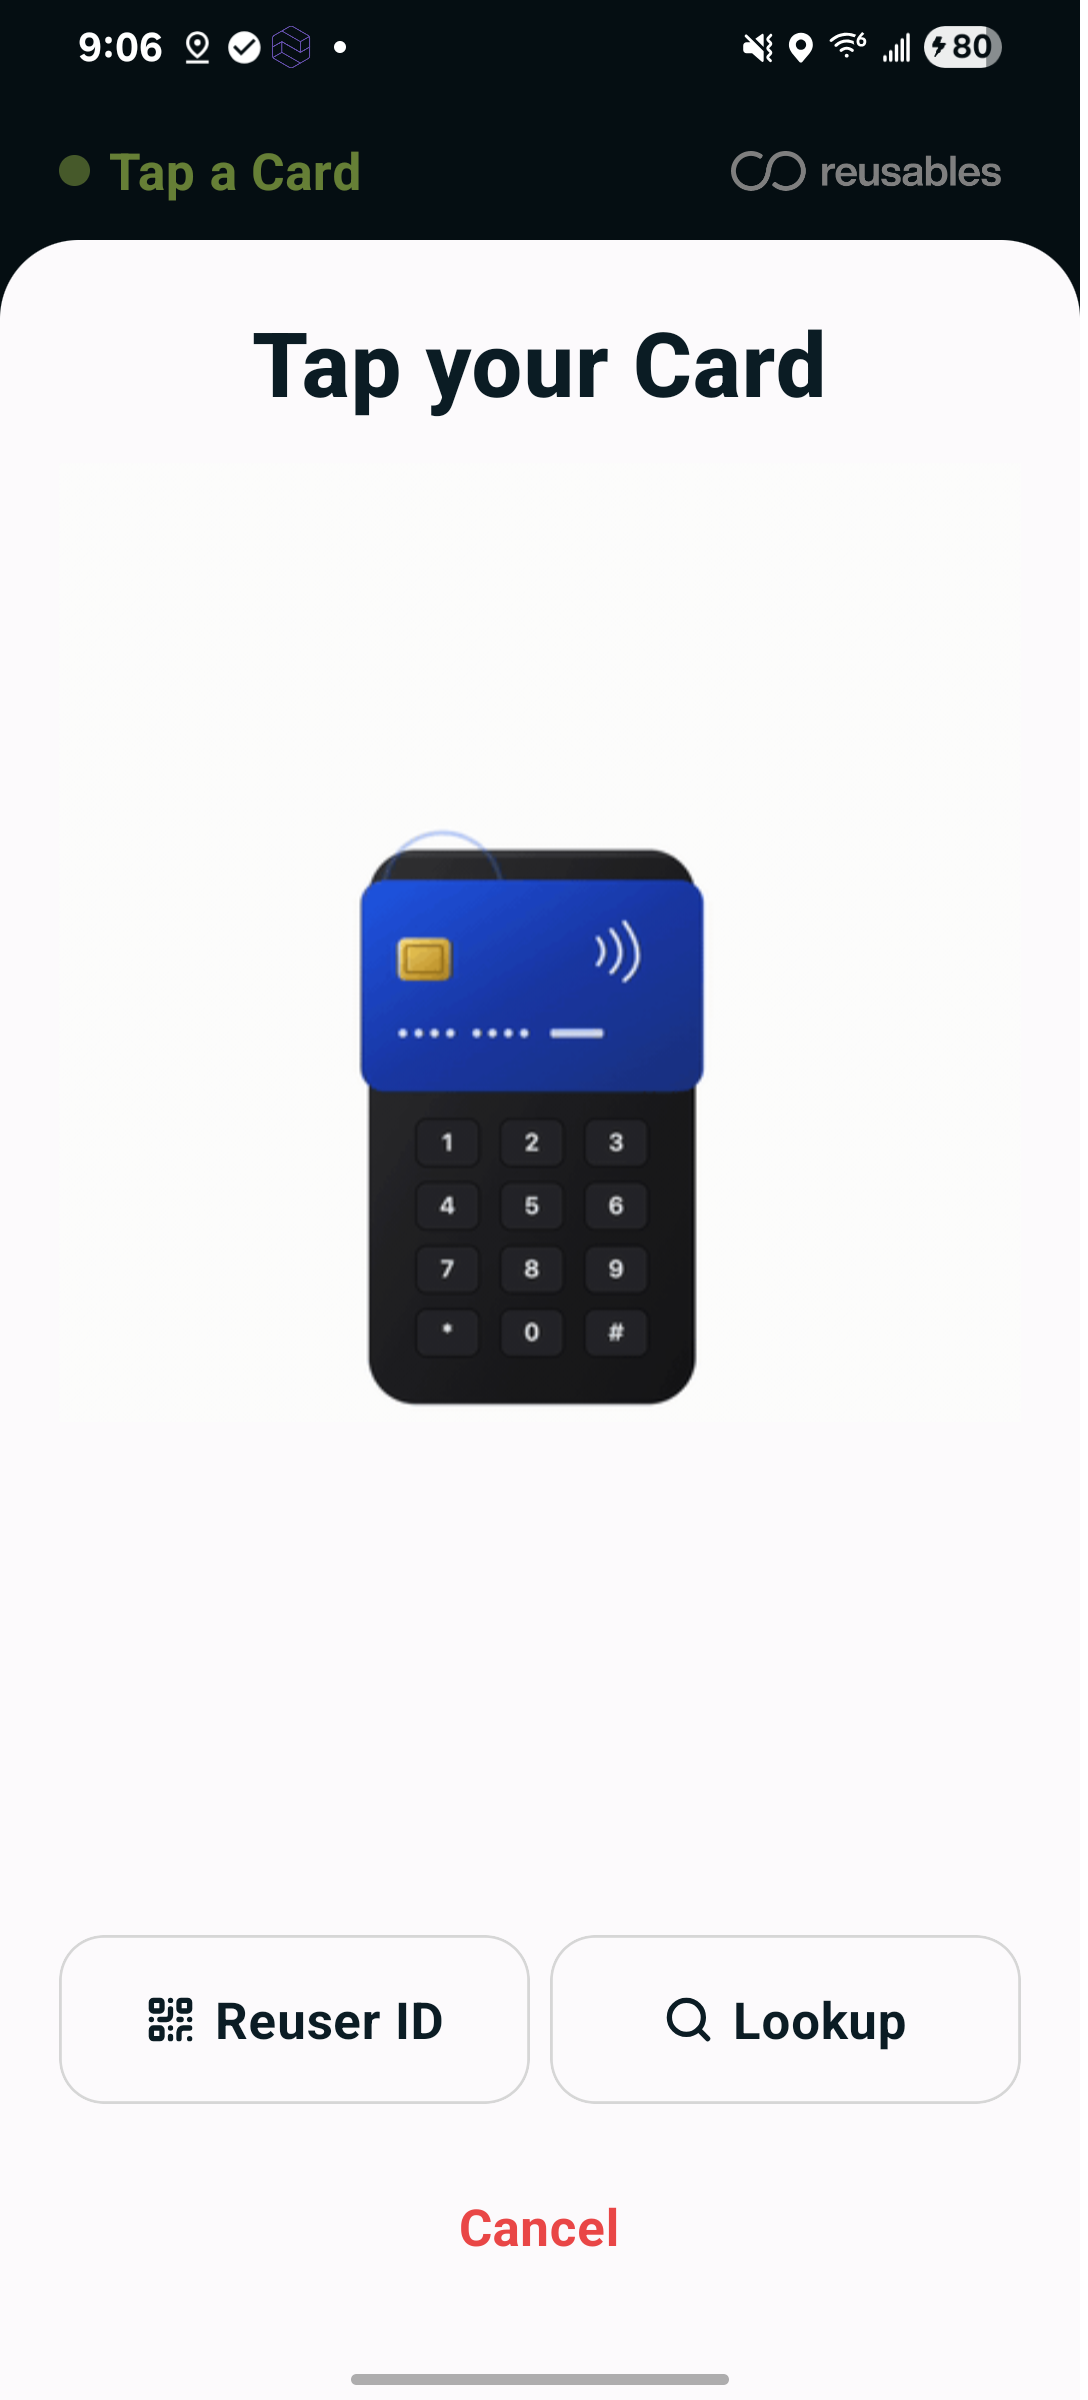
Section titled “Tap (card reader) — the main option”The card reader is enabled for taps. The user taps a credit/debit card or phone on the reader. The first tap links that card to their account; after that a single tap identifies them — no card details are stored on the device. If your phone also supports student cards, the prompt cycles between the card-reader and student-card images and a student card works the same way.
Reuser ID (scan a QR pass)
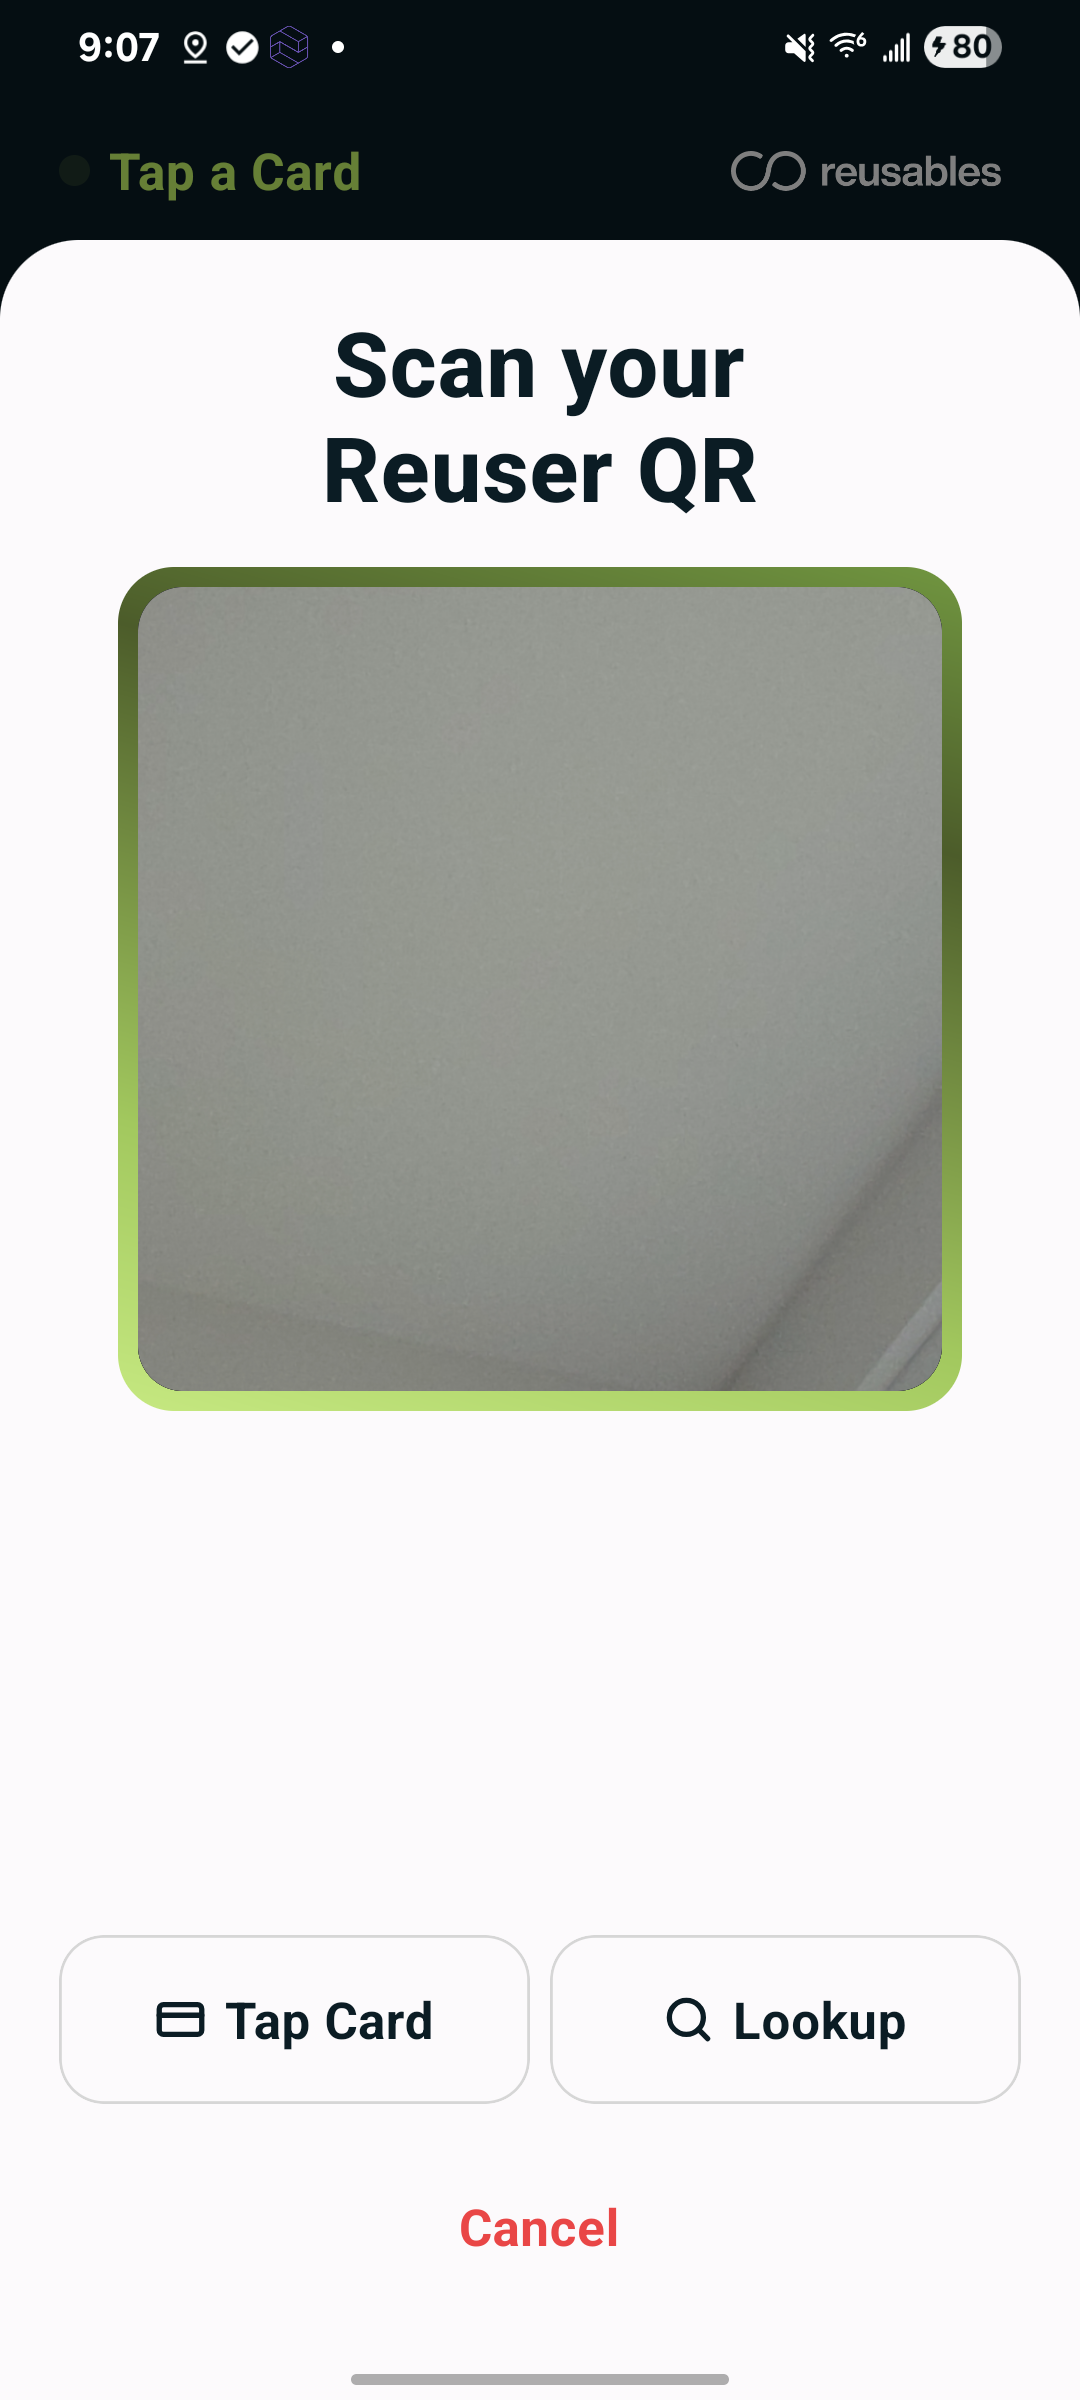
Section titled “Reuser ID (scan a QR pass)”The Reuser ID footer button switches the window to the camera. The user holds up their Reuser QR pass and it’s scanned automatically.
Lookup (type a member number)
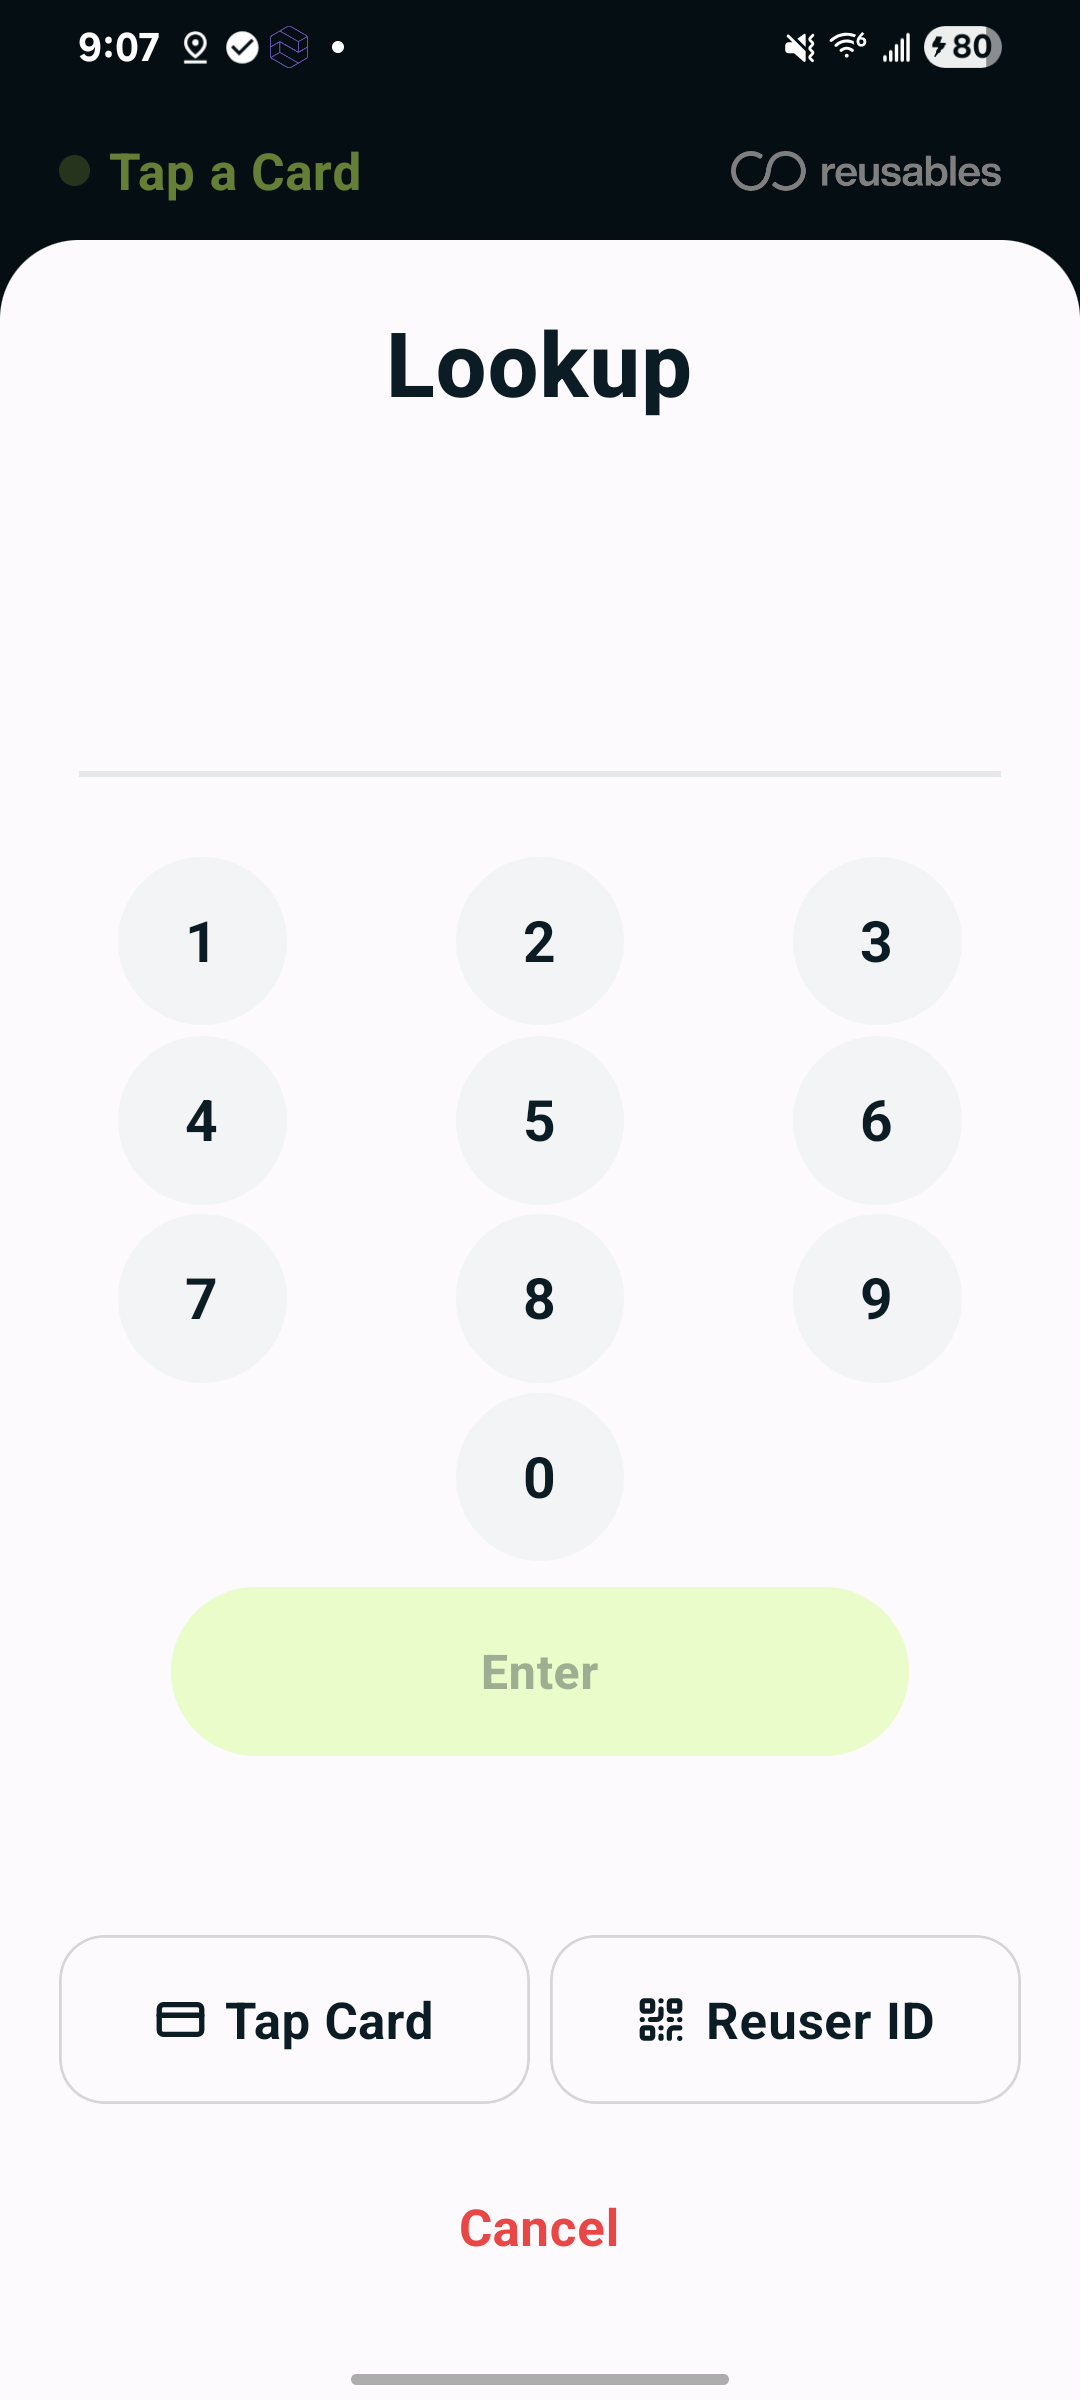
Section titled “Lookup (type a member number)”The Lookup footer button opens a number pad. Type the user’s member number (about 5 digits) and press Enter. A preview of the matching account appears — confirm it to continue.
If it can’t identify the user
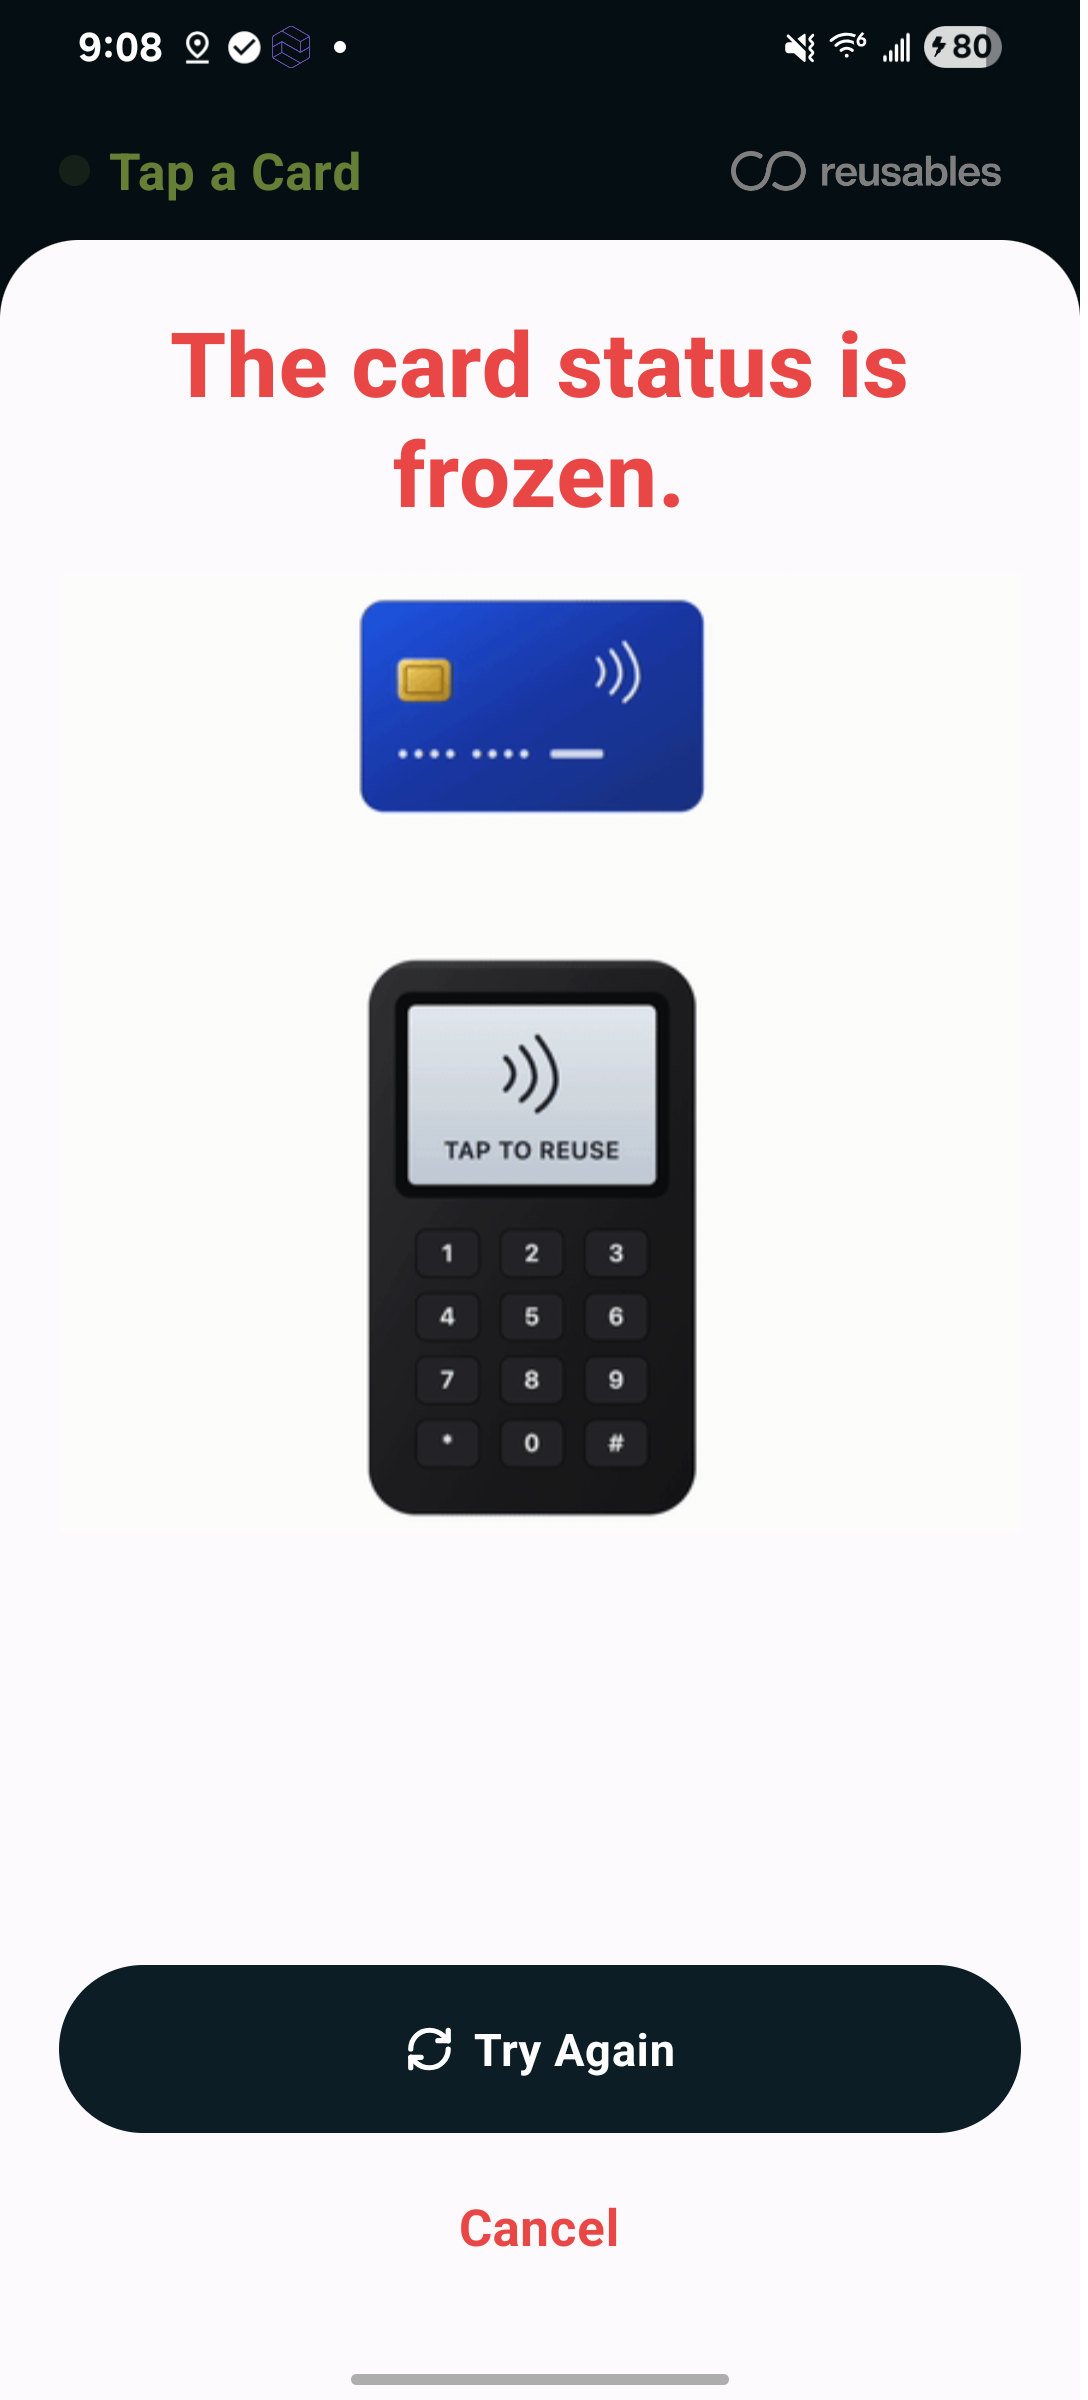
Section titled “If it can’t identify the user”A short message appears right in the window (for example, a card that’s frozen). Tap Try Again, or switch to another method.
Step 3 — What you’ll see after identifying
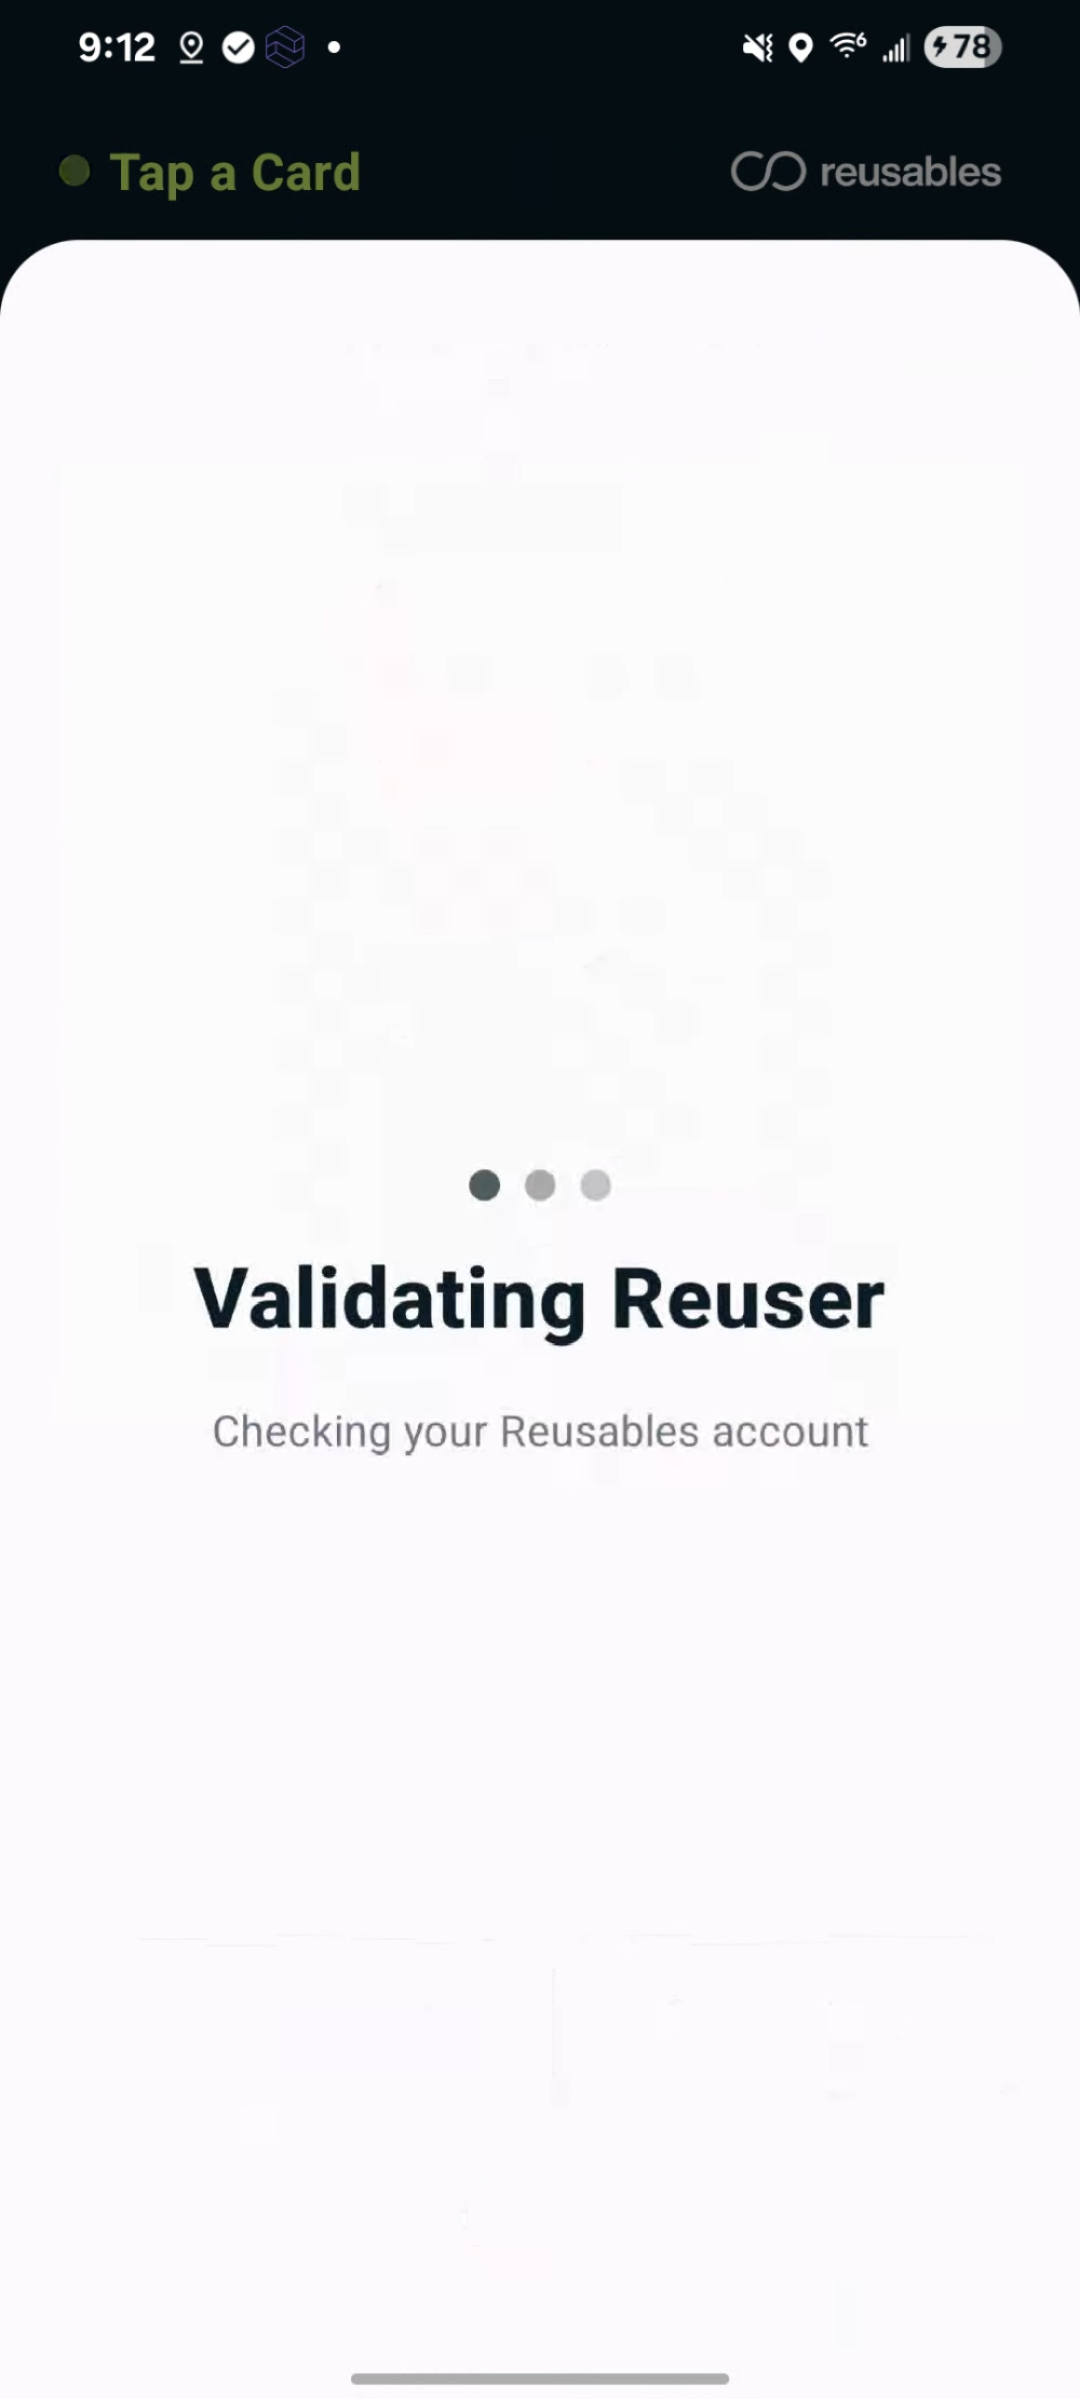
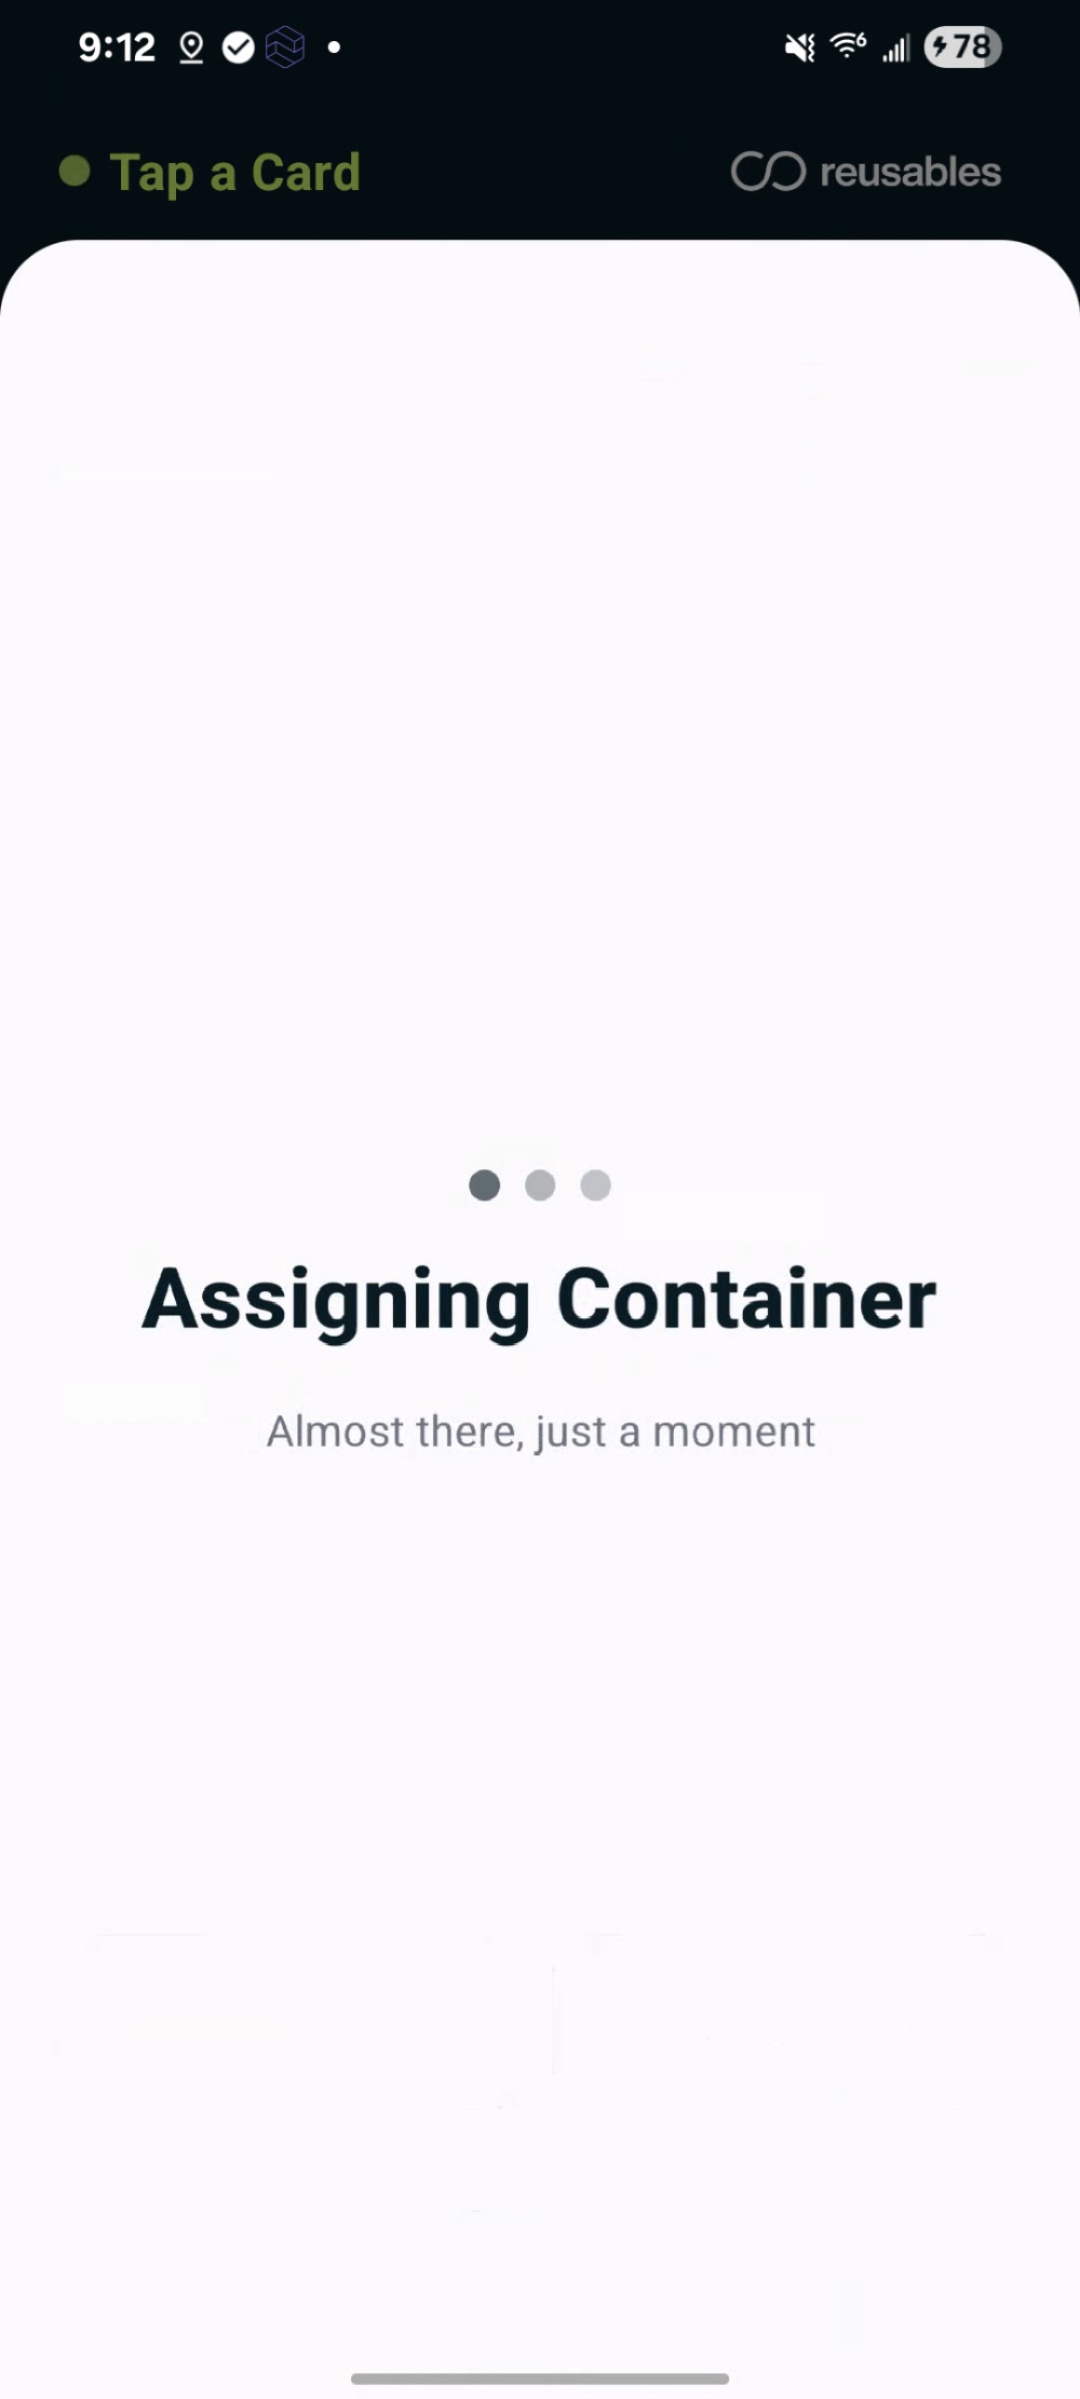
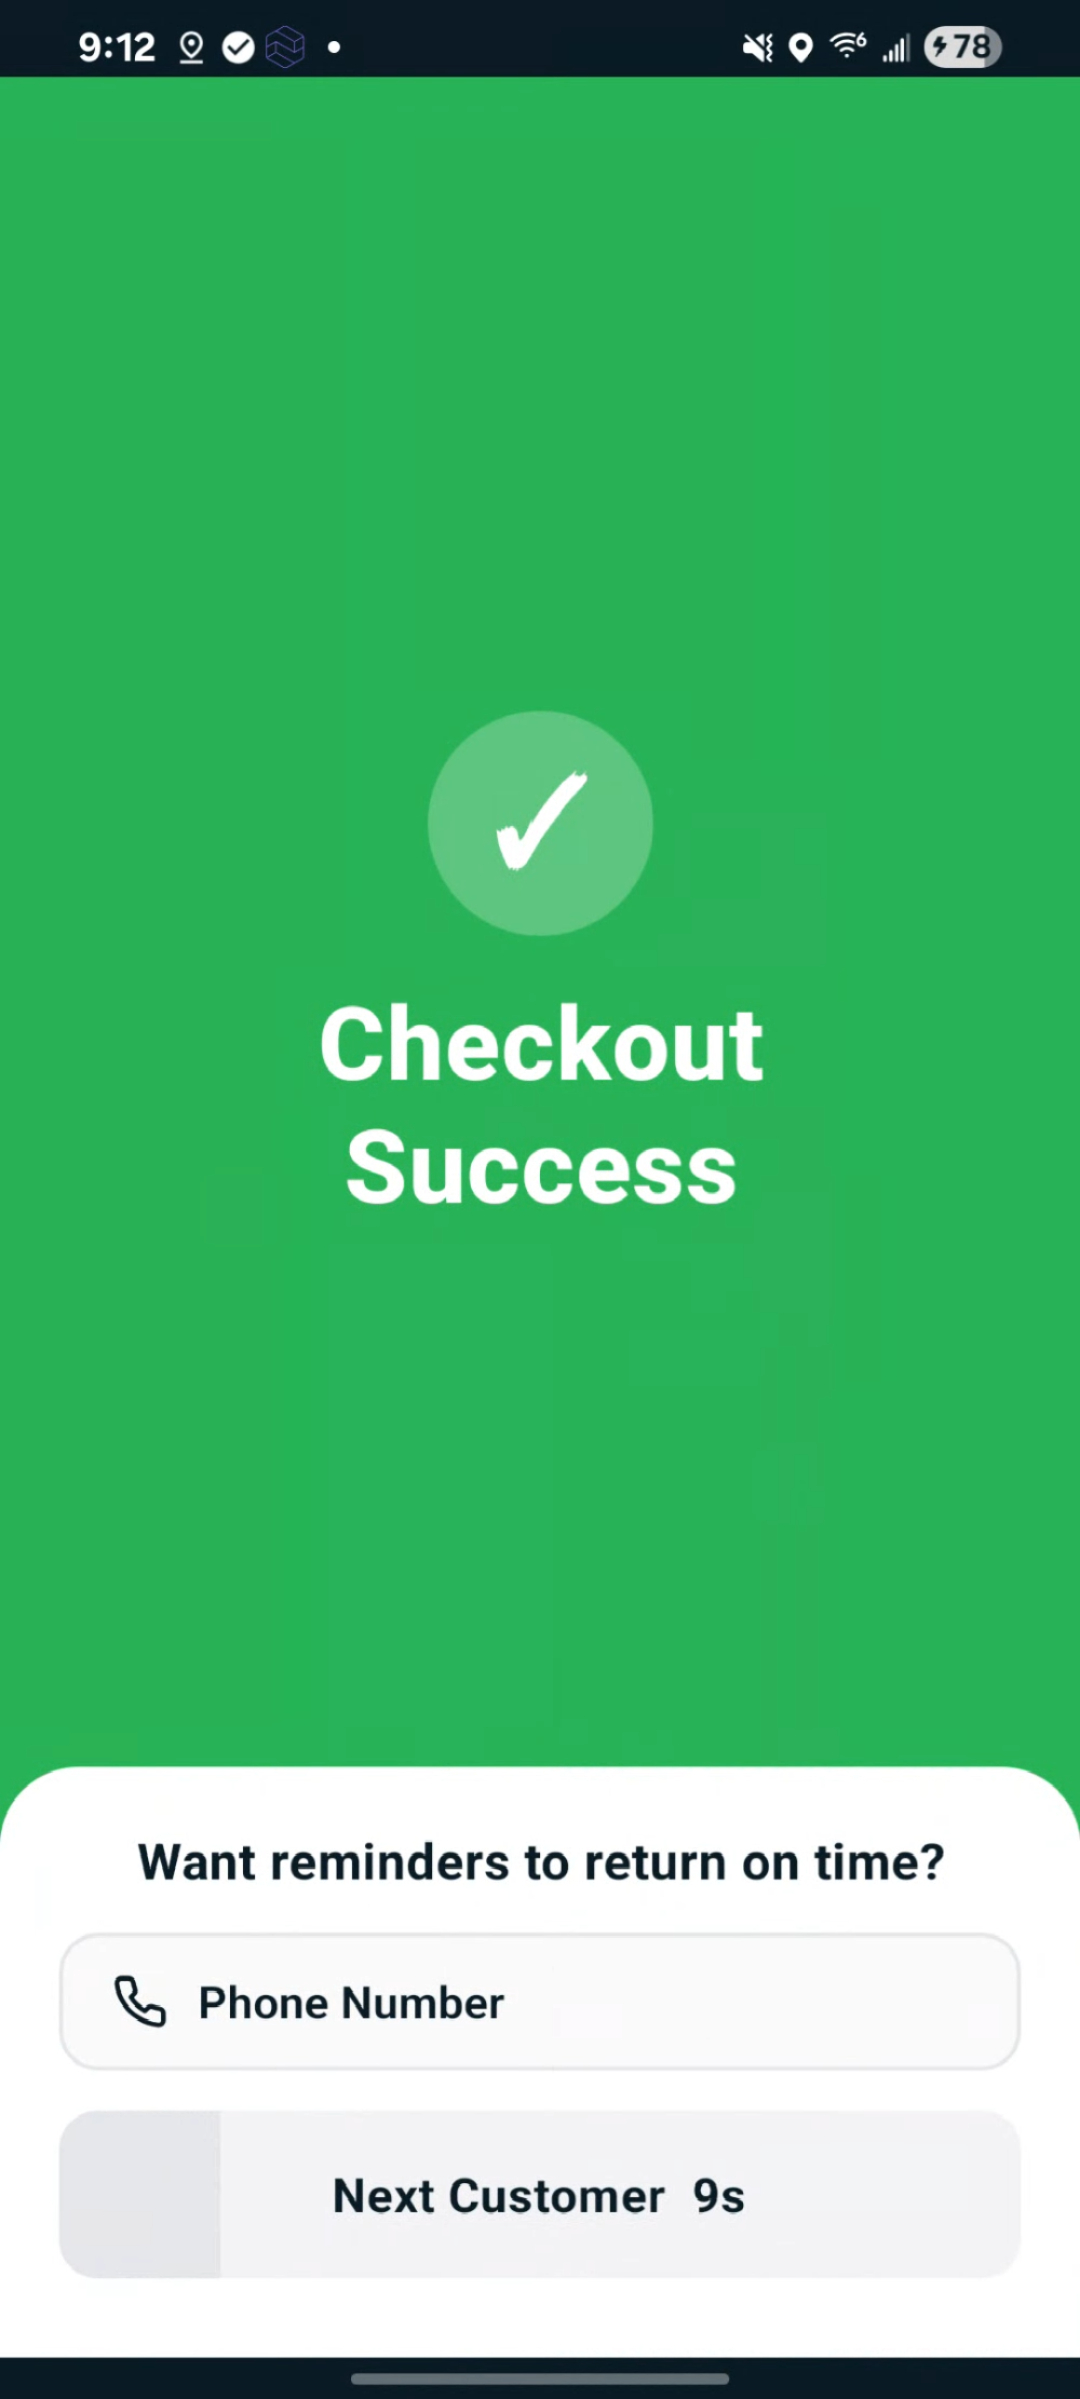
Section titled “Step 3 — What you’ll see after identifying”Once a user is identified, the window moves through these states on its own — no action needed:
- Validating — a brief spinner confirms the card or ID.
- Assigning Container — the container(s) get linked to the user.
- Success — a green confirmation screen. It may ask for the user’s phone number (for return reminders), then closes on its own after a few seconds. Tap Next Customer to close it right away.
Good to know
Section titled “Good to know”- Your site’s rules haven’t changed. Container limits and any charges (e.g. for extra containers) still apply exactly as before.
- On checkout, if nothing happens for about 2 minutes the window closes by itself and the phone returns to the idle screen — just start again.
- Wi-Fi quick-fix: if a device seems disconnected, tap the serial number in the footer to open Wi-Fi settings. If that doesn’t help, contact your Reusables representative.
Questions? Reach out to your Reusables contact. This page is kept up to date — share this link for the latest version.